Shortening extra slats and shortening an operating cord are different jobs. Never alter a cordless spring system without its exact maker's instructions.
Before you buy or repair
- Record first
- Exact SKU, lift system, actual installed drop and bottom rail/ladder design
- Make the decision
- Whether this specific mechanism permits slat shortening and preserves its certified cord-safety arrangement
- Stop & verify if
- Unknown spring motor, exposed loop, inaccessible stops or absence of product instructions
Jump to a section
- Which job are you actually trying to do?
- Read the diagram: three checkpoints
- The six things to identify before touching a bottom rail
- Why operating cords are a separate safety issue
- Model-approved shortening: plan before action
- Worked example: the problem might require no cutting
- Problem diagnosis after an authorized modification
- Record blind dimensions and any approved change
- Frequently asked questions
- Sources and limitations
- Questions before you buy or repair
- After the project: did it work?
Quick answer: "Shorten blinds" can mean two completely different things: reduce the height of the blind stack/number of slats or shorten an exposed operating cord. A third meaning is simply setting a cordless bottom rail to the desired opening height. The same cut-and-retie method does not work for every system. First identify the exact brand/SKU and inspect the approved installation or service directions.
Which job are you actually trying to do?
On a narrow screen, scroll this table sideways to see every column.
| Your concern | Likely task | First decision |
|---|---|---|
| Mini blind extends several slats below the sill when fully lowered | Shortening slat ladder and lift cords, only if manufacturer permits | Find exact model's shortening directions |
| Operating cord hangs too long | Adjusting allowed cord length/safety device | Follow current cord-safety rules and model |
| Cordless blind lowers too far | Normal adjustment may be sufficient; some cannot be shortened | Check exact cordless bottom-rail design |
| Roller shade is too tall | Different product and spring/cassette system | Never cut roller components from a mini-blind tutorial |
| Cellular shade hangs low | Pleated fabric and internal spring mechanism | Use manufacturer's repair/return service |
The Blinds.com mini-blind repair guide illustrates replacing slats on certain lift-cord mini blinds, including removing ladder caps and manipulating cord knots. It is not permission to open every cordless spring motor. The Blinds.com child-safety guidance emphasizes inaccessible cords, secured loop systems and correct tension hardware.
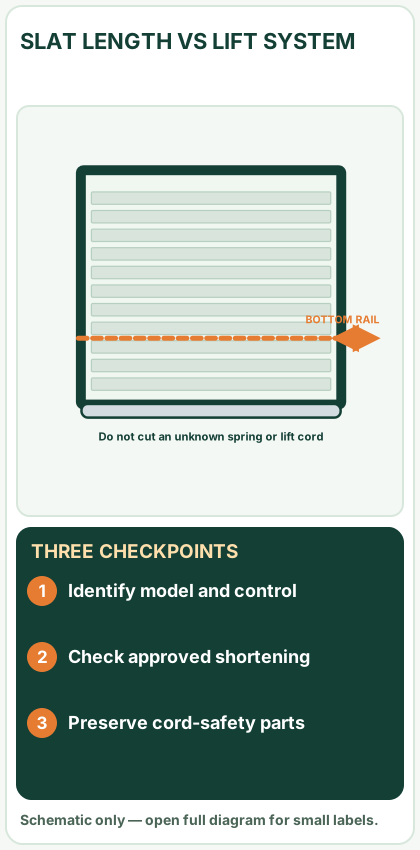
Open desktop diagram ↗ Open mobile diagram ↗
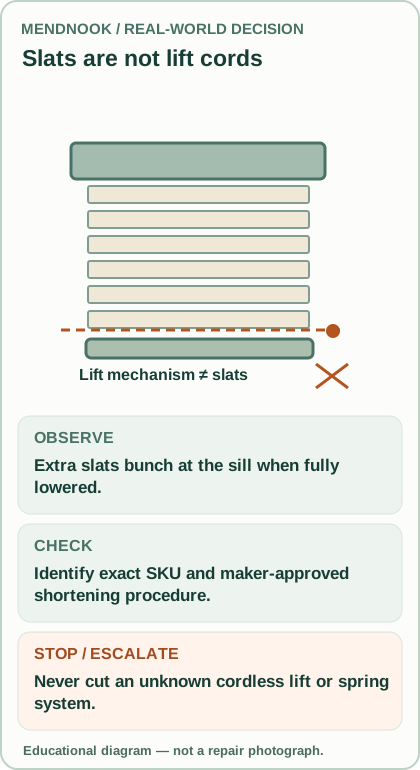
Read the diagram: three checkpoints
- Identify model and control
- Check approved shortening
- Preserve cord-safety parts
The six things to identify before touching a bottom rail
- Brand, series and SKU, including purchase date if relevant.
- Operating type: corded, cordless spring, wand tilt, motorized or special top-down system.
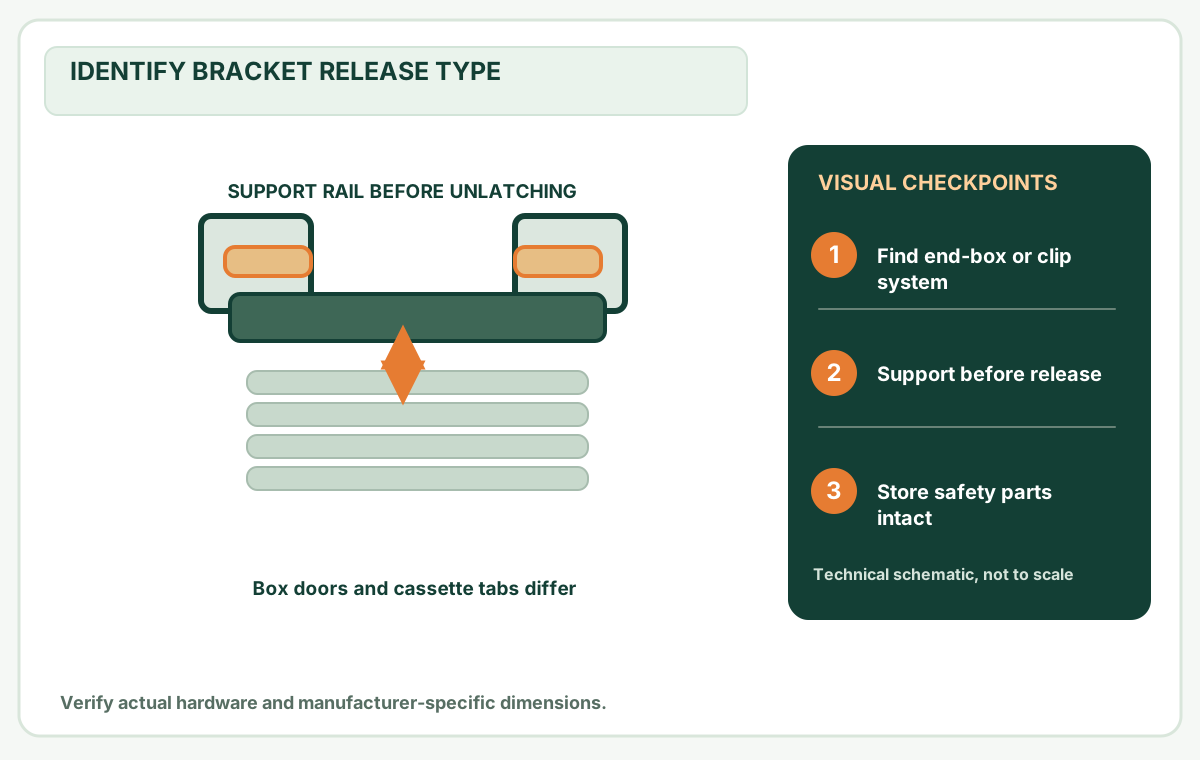
- Full headrail and bottom-rail pictures with removable end-cap positions.
- Actual drop from top of headrail to intended stopping point — not the room's entire wall height.
- Slat width, tilt ladder design and whether lift cords pass through route holes.
- Manufacturer service document stating this exact model can be shortened at home.
A blind's description as "customizable" might refer to order dimensions rather than a safe homeowner modification. If no exact manual covers shortening, ask the vendor for the correct procedure or order a shorter blind instead.
Why operating cords are a separate safety issue
Operating cords and continuous loops can present strangulation hazards for children. Do not leave a long loop, remove a tension device, retie a failed cord stop or mix unrelated service instructions. On a cordless product, do not cut its internal lifting cords or remove motor housing screws merely because you can see them under an end cap. Changes can disable the holding mechanism.
LEVOLOR's wood-blind installation documentation contains prominent child-safety warnings. It includes older corded systems whose instructions may differ from products currently offered in North America. Apply the instructions for your purchase, not an old PDF selected only because it resembles the slats.
Model-approved shortening: plan before action
If the selected manufacturer explicitly authorizes shortening:
- Identify and photograph the entire blind with the rail fully supported, not held by one slat.
- Measure the intended installed clearance at the sill with the blind fully lowered and squared. Record exactly how much length needs to be removed.
- Read the full manual, including whether to retain a minimum number of slats, where its ladder and lift cords are anchored, and whether replacement end caps or safety stops are required.
- Mark the slat count or rail position according to that manual, not by eyeballing from one side. Unequal ladder termination can tilt the rail.
- Perform only the documented handling sequence with suitable support and eye protection. Keep cut cords out of reach of children; do not improvise new knots or splice tensioned components.
- Reassemble every bottom-rail cap, retaining part, cord stop and child-safety component exactly as specified.
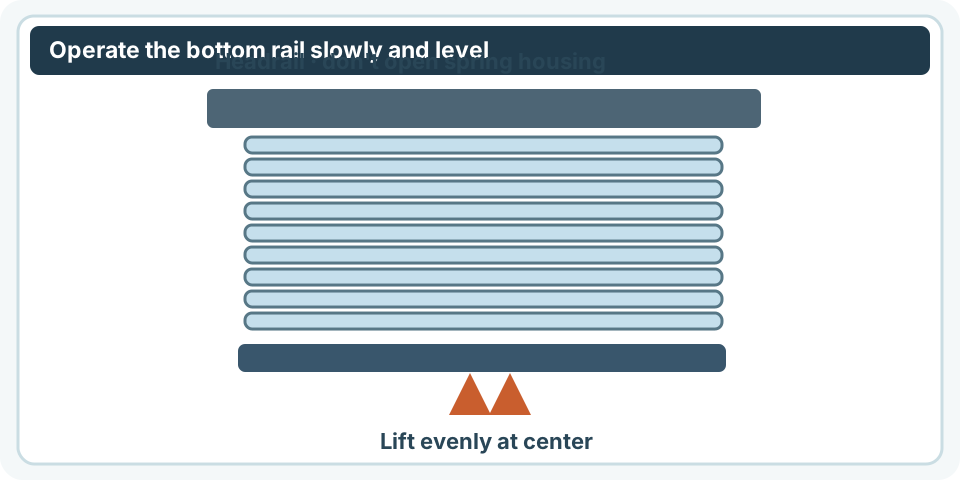
- Raise and lower the blind slowly through its permitted range. Verify it holds level, locks or balances correctly, does not expose loose cords, and never springs upward unexpectedly.
- If travel or hold function is different afterward, stop using it and consult the maker.
This is a quality-control outline, not a universal step-by-step cutting recipe. A genuine hands-on photo tutorial must be tied to a model whose manufacturer has explicitly published the complete shortening process.
Worked example: the problem might require no cutting
Hypothetical window opening drop is 56 3/4 in, but the purchased cordless mini blind has a 60-in nominal height. It may simply gather a few extra slats on the sill, or the bottom rail might be able to rest above the sill according to normal operation. Verify the installed length and manufacturer's acceptable stopping position before treating this as a modification. A 3 1/4-in difference does not tell you to remove three slats: slat pitch and ladder geometry differ.
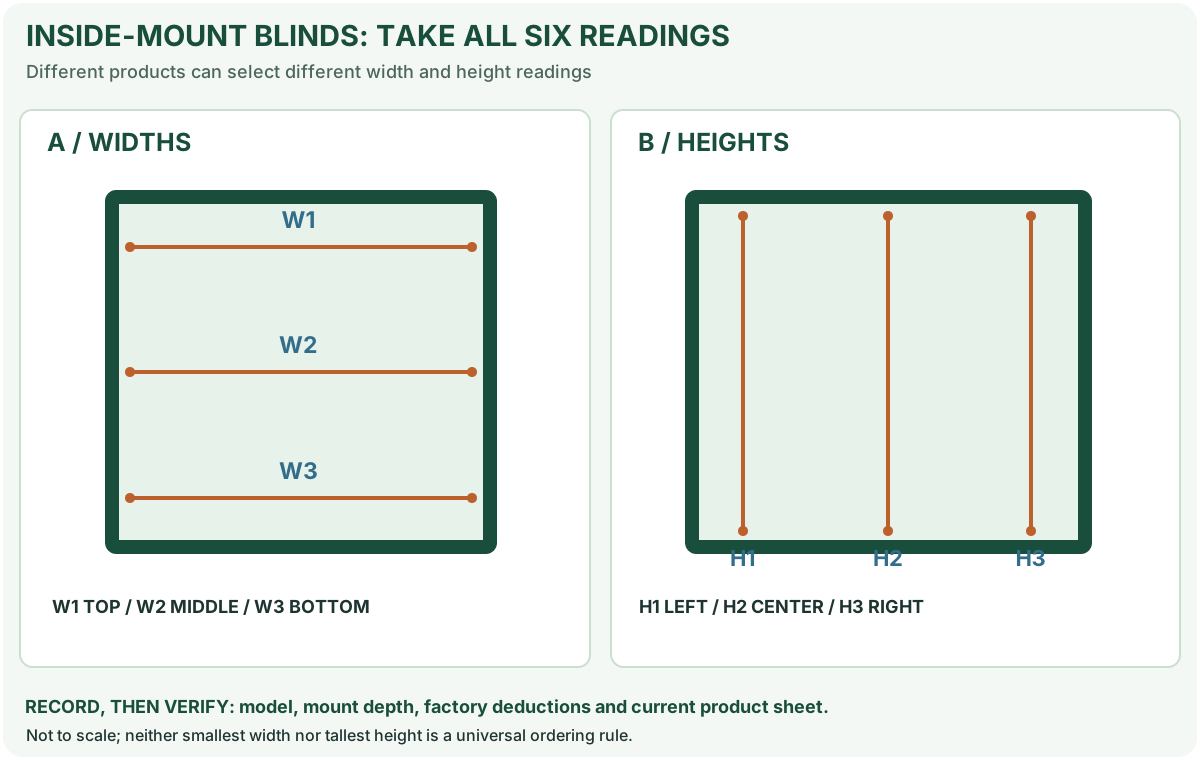
If the extra stack causes a permanent obstruction or unsightly bunching and the model cannot safely be shortened, check a return or correctly ordered height instead. For new blinds, use our inside-mount measuring guide and outside-mount measuring guide to avoid ordering height errors.
Problem diagnosis after an authorized modification
On a narrow screen, scroll this table sideways to see every column.
| Symptom | Likely concern | Action |
|---|---|---|
| Bottom rail hangs crooked | Ladder termination or internal lift mismatch | Stop, check documented assembly |
| Cordless blind drifts upward/downward | Spring/friction balance disturbed | Follow approved service procedure only |
| Lift cord now exposed as a loop | Child-safety hazard | Stop using; do not leave accessible |
| Slats no longer tilt fully | Ladder or tilt route pinched | Restore exact documented arrangement |
| Rail end cap will not seat | Wrong reassembly or incompatible parts | Never glue or force |
| Blind reaches sill but cannot lift | Internal mechanism problem | Cordless blind diagnosis |
Record blind dimensions and any approved change
Before modifying a blind, photograph its complete SKU, current bottom rail, lift controls and actual drop relative to the sill. Record which manual authorizes shortening and which internal parts it says can be touched. If the maker does not provide a model-specific process, stop here: a photo of extra slats is not permission to cut hidden cords.
For an approved model-specific adjustment, preserve a picture of the untouched assembly, then document only the allowed steps and the exact amount changed. After reassembly, photograph the level bottom rail and check normal travel through the permitted range. Make a record that all required cord stops, tensioners, caps and child-safety components remain intact.
Accept: the rail stays level, lift mechanism behaves as documented and no new accessible cord loop exists. If not: stop using the blind and request service or a correctly sized replacement.
Frequently asked questions
Can cordless blinds be shortened? Some products may permit it, others cannot safely be altered. Exact model approval is mandatory.
Is cutting exposed cords the same as shortening the slats? No. They are different safety-sensitive operations.
Can I use a video for another brand? Do not assume its spring, ladder, cap and cord system match yours.
Is it OK to remove a cord tension device to make the blind look cleaner? No; preserve every required safety device.
Sources and limitations
- Blinds.com — Mini Blind Repair.
- Blinds.com — Child Safety.
- LEVOLOR — Wood Blinds Installation and Child Safety PDF.
Evidence limits: This is a model-selection and safety decision guide; it does not claim MendNook shortened or tested a particular cordless blind.
Questions before you buy or repair
Can every cordless blind be shortened?
No. Many mechanisms are model-specific and some are not homeowner-serviceable; check the manufacturer first.
Is cutting lift cords like removing extra slats?
No. Lift cords and bottom rail assemblies may be safety-critical; never use another model's cut-and-knot method.
What if the blind is too long but cannot be shortened?
Check whether normal operation provides acceptable clearance, or order the correct size rather than opening a spring motor.
These answers summarize the guide's documented evidence. Check the cited sources and exact model instructions above before ordering parts.
After the project: did it work?
After completing only product-approved work, document what you actually observe instead of assuming a replacement part resolved the fault.
- Success looks like
- Approved adjustment leaves bottom rail level, full intended travel and all required child-safety components intact.
- If it still fails
- Stop if spring balance, lift cords or safety stops behave differently; do not improvise retying procedures.
- Keep for next time
- Blind SKU, exact model instruction, approved length change, slat count and post-change cord/control checks
Keep your actual measurements and observed result in your private project notebook. This is a verification checklist, not a product certification.
My project record: progress and take-home checklist
Select a progress stage if helpful. This is a personal record only, not a claim that MendNook verified your repair.
Includes this guide's specific diagnosis, decision, safety, and outcome checks, plus any note entered above. Nothing is sent to MendNook; downloads and copy operations stay under your control.