Identify the exact cordless blind system; use only model-approved gentle checks, never force internal springs.
Before you buy or repair
- Record first
- Brand/model, headrail type, level of bottom rail and symptoms
- Make the decision
- Use model-specific gentle reset checks or approved service
- Stop & verify if
- Internal cords or spring are exposed or blind falls
Jump to a section
- Diagram checkpoints
- Step 1 — Recognize the system before touching a spring
- Step 2 — Isolate one symptom safely
- Step 3 — Perform only the approved, low-risk operating check
- Manufacturer troubleshooting split: four similar symptoms, four different next actions
- Step 4 — Separate observation from an internal repair claim
- Step 5 — Make an actionable support request
- Child safety and stop conditions
- Primary sources and evidence limits
- After the project: did it work?
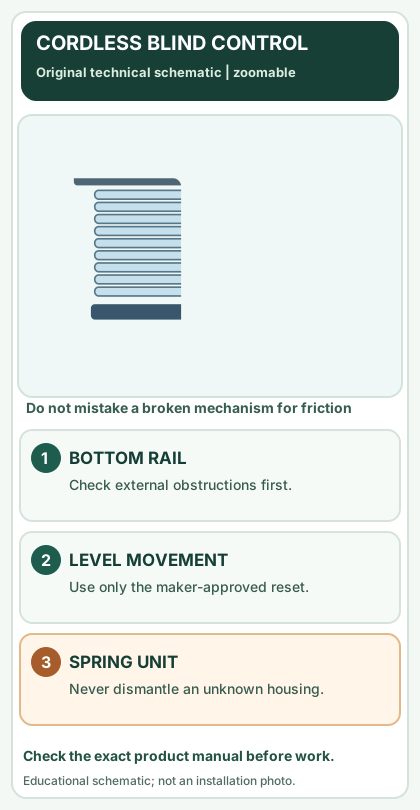
Open desktop diagram ↗ Open mobile diagram ↗
Read the diagram: three checkpoints
- Identify blind type
- Check exterior obstructions
- Use model-approved reset only
A cordless mini blind may contain internal lift cords, spring motors and friction parts, even though there is no external pull cord. If it will not rise, the cause can be a blocked headrail, damaged bracket, unequal rail movement or a spring mechanism that is not holding tension. The correct next step depends on what kind of blind it is and exactly when the failure happens.
This guide covers slatted cordless mini blinds. Honeycomb/cellular, faux-wood, motorized and top-down/bottom-up shades can behave differently; do not apply a slatted-blind adjustment to an unidentified mechanism.
Step 1 — Recognize the system before touching a spring
On a narrow screen, scroll this table sideways to see every column.
| What the installed treatment looks like | Identify it as | What to read next |
|---|---|---|
| Many separate narrow horizontal slats and a lower rail; no exposed lift cord | Possibly a cordless mini blind | This diagnostic, plus the named brand's mini-blind manual |
| Pleated fabric forming continuous honeycomb cells | Cordless cellular shade | Cellular shade uneven/sagging guide |
| Wide faux-wood/wood slats, chain or tilt wand | Other slatted-blind system | Its exact product instructions |
| Tube of rolled fabric, not individual slats | Roller shade | Roller operating fault guide |
| Motor, rechargeable wand, remote or moving cassette | Powered control | Product service and charging/limit guide |
Photograph the original headrail label, bottom rail, mounting brackets and operating handle. If there is no readable label, request identification from the retailer using those photos before attempting an internal repair.
Step 2 — Isolate one symptom safely
Do not disassemble a spring cartridge, remove an internal steel balancing rod or lubricate unknown clips. Check only what is externally visible and safely accessible.
On a narrow screen, scroll this table sideways to see every column.
| Actual behavior | First external check | Do not conclude yet |
|---|---|---|
| Will not raise after sitting fully lowered | Obstruction, normal bottom-rail movement, then model-approved spring reactivation | That the spring is broken or needs more force |
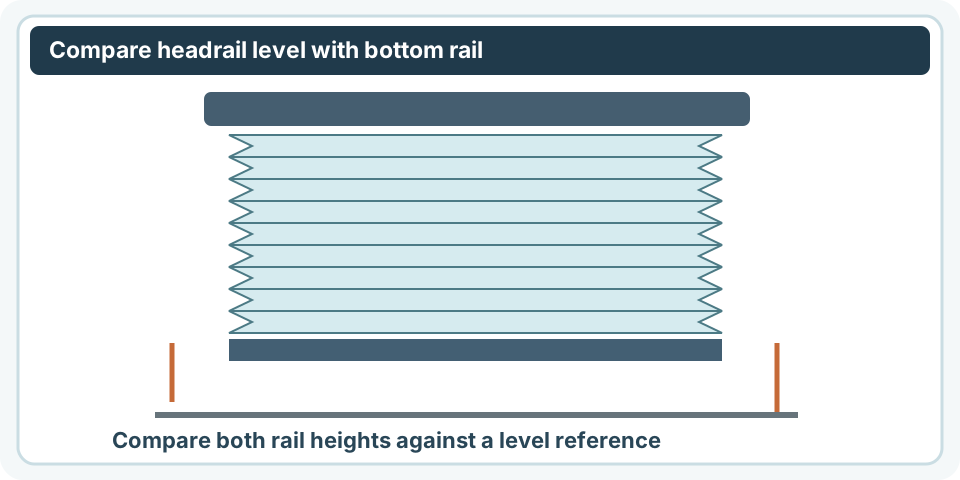
| One side rises while the other stays down | Is the bottom rail being lifted evenly and the headrail level? | That one side should be tightened manually |
| Rises but slowly sinks again | Record whether it holds at two or three normal heights | That a generic friction clip can be added safely |
| Slats rotate but the rail stays put | Lift assembly rather than the tilt wand | That replacing slats will restore lifting |
| Scrapes or catches at the top | Bracket/valance interference and proper headrail seating | That spring tension is the first issue |
| Spring cover cracked, loose cords, unsafe mounting | Stop operating, keep away from children, seek original parts/service | That a public DIY reset applies |
The Blinds.com cordless mini-blind troubleshooting section specifically distinguishes “won't lift,” “hang unevenly,” “creep/sag” and “do not operate smoothly”. Those are different symptoms, so one suggested remedy does not address all four.
Step 3 — Perform only the approved, low-risk operating check
- With sound brackets and no exposed cords, remove any visible obstacle from the blind's normal travel.
- Support the lower rail at its middle or the specified handle location; keep it level. Do not pull a thin slat or yank one corner.
- Observe whether the blind begins moving in its ordinary operating range using normal effort. Stop if it jerks, binds or drops unpredictably.
- If the exact model's instructions allow reactivation after long storage, follow them precisely. For certain cordless mini-blind mechanisms, Blinds.com describes a gentle downward pull on the bottom rail to reactivate the spring.
- Repeat a normal raise/lower cycle only if movement is smooth, then stop at two intermediate heights to see whether the rail holds. A momentary lift without reliable holding is not a completed repair.
Blinds.com also suggests slow repeated full travel for certain uneven mini blinds. Do not apply that motion if the shade is already snagging, attached insecurely, or the product maker does not approve full extension.
Manufacturer troubleshooting split: four similar symptoms, four different next actions
The Blinds.com cordless mini-blind troubleshooting list provides a helpful model-family example. It does not make each operation suitable for every cordless blind:
On a narrow screen, scroll this table sideways to see every column.
| What your blind does | What the named mini-blind support article discusses | Safe owner-level decision |
|---|---|---|
| Will not lift after remaining fully lowered | A gentle downward bottom-rail pull to reactivate its spring | Only try normal low-force operating movement on an identified compatible system with sound brackets; stop if the rail binds |
| Hangs unevenly | Repeated, slow full raise/lower cycling for its supported product | Observe whether the mechanism can travel freely first; never force a seized rail to full extension |
| Creeps upward or sags downward after release | Model-dependent factory friction clips and possible internal bottom-rail steel rods | Contact seller for exact part and written instructions; do not add clips, remove rods or dismantle unknown headrails |
| Does not operate smoothly / moves with abnormal resistance | Different friction-clip advice from the creeping case | Stop and identify the operating model; a clip recommendation for sagging may make a stiff rail worse |
Critical distinction: the retailer describes both adding friction clips for some creeping mini blinds and removing them for some resistance problems. These are opposite interventions for different symptoms, not a DIY slider that every owner should adjust. The article cannot tell which internal assembly is in your installed blind.
Mini versus cellular: the same retailer publishes a separate cordless cellular-shade repair page with different tension-reset descriptions. Do not copy its "firm tugs" instruction to slatted mini blinds, nor use a slatted-blind friction-clip procedure on a honeycomb shade. Follow the matching model's current instructions and preserve child-safety mechanisms.
Document a failed spring-reset attempt without making it worse
Illustrative inspection: a labeled mini blind is fully lowered, moves normally on the first inch of a gentle test and then stops abruptly near the left bracket. That is not proof its spring lacks tension: inspect external bracket interference and compare the left/right rail height. If a second normal movement binds at the same point, stop rather than repeating the spring pull. Record the position and maker label for service.
If instead it rises cleanly, then creeps down when released at three separate normal heights, document the holding fault. Do not choose internal clip quantity by trial and error. The useful output is a manufacturer-ready video and exact product identification, not an unsupported tension adjustment.
Step 4 — Separate observation from an internal repair claim
Worked example, not a field test: A 36-inch mini blind lifts about 4 inches at the right end while the left end remains stationary. The useful diagnosis record is not “tighten the left spring.” It is: model, travel direction, where the rail stops, whether the headrail is level, whether the bottom rail was supported centrally, and whether the symptom repeats.
If the blind instead lifts fully but drops by 2 inches after release, record how far and how quickly it moves before asking the seller about compatible components. A disappearing holding force may suggest a spring/friction issue, but a general web page cannot identify the exact internal part or determine a safe modification.
A retailer may publish instructions to add/remove friction clips or internal balancing rods for specific products. Those involve spring-balance parts. Obtain the correct SKU and installation/service sheet, or request an authorized service provider; do not treat an unlabelled blind like a model in a tutorial.
Step 5 — Make an actionable support request
Keep: the brand/model, approximate age, slat width, mounting style, label photo, video of one normal safe cycle, left/right rail position, whether the headrail is loose, and whether the blind holds at multiple heights.
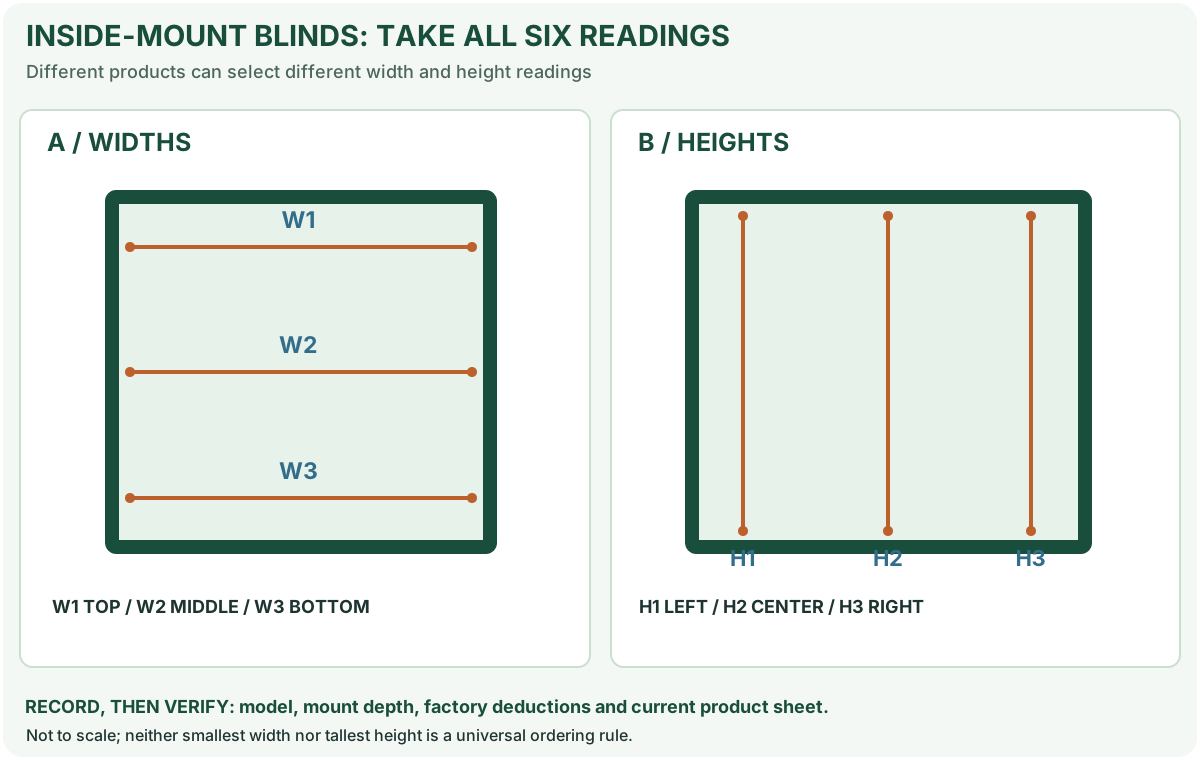
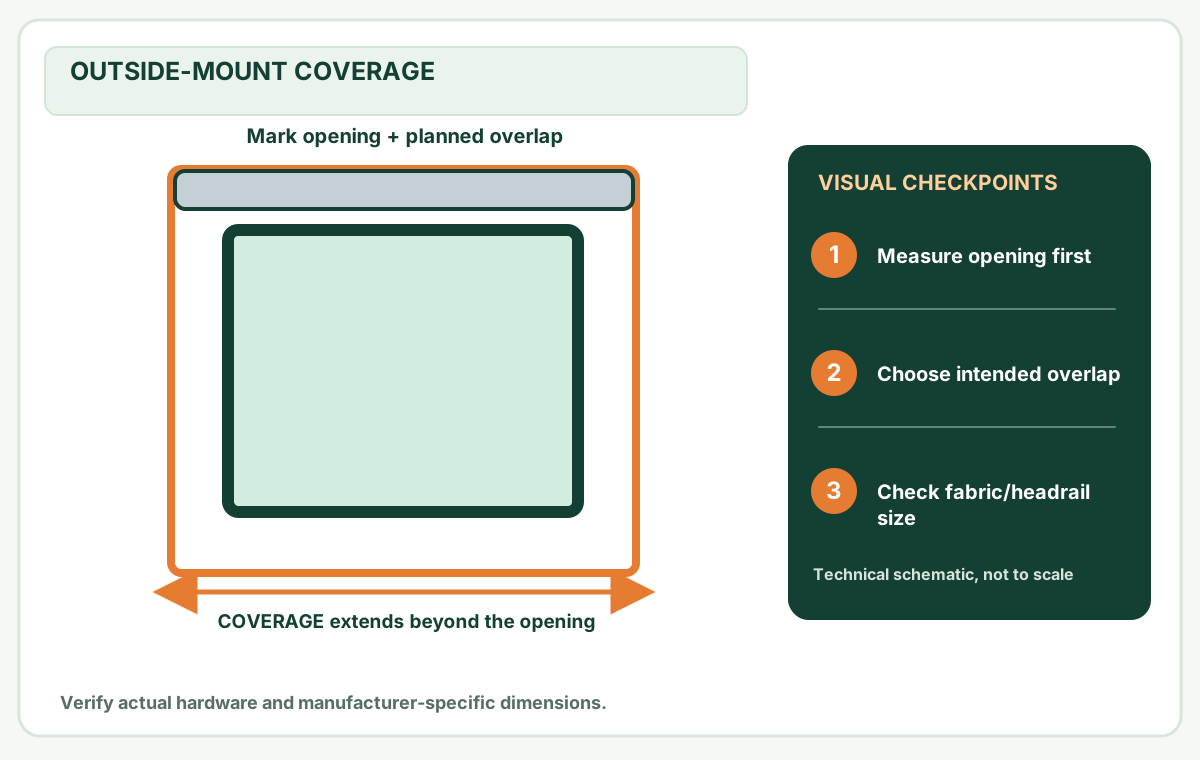
The supplier can then distinguish a compatible spring/friction component, a mounting issue, or a replacement assembly. If replacing the whole blind, use the inside-mount measurement guide or outside-mount guide according to the new product's ordering system. Do not copy order dimensions from a visibly distorted old blind.
Child safety and stop conditions
The U.S. Consumer Product Safety Commission's cordless window-covering guidance identifies accessible window-covering cords as a serious strangulation hazard. Do not retrofit external operating cords, bypass safety tensioners or leave loops reachable. A product sold as cordless may still contain internal lift mechanisms; opening the headrail can expose parts the user was never meant to handle.
Stop and seek maker-approved service if brackets shift, the headrail detaches, internal cords become visible, a spring housing cracks, the rail drops suddenly or normal operation requires force.
Primary sources and evidence limits
- Blinds.com: How to repair mini blinds — separate symptom paths and published remedies for certain cordless mini-blind products.
- Blinds.com: How to repair cellular shades — different shade family; not instructions for a mini blind.
- U.S. CPSC: Window covering cords — child safety and exposed-cord risk.
Evidence limits: The rail heights are hypothetical observations. MendNook has not opened or independently tested the spring system or verified any replacement part for an unidentified blind. Product-specific manufacturer service and warranty instructions control.
After the project: did it work?
After completing only product-approved work, document what you actually observe instead of assuming a replacement part resolved the fault.
- Success looks like
- The bottom rail moves evenly through the model's normal travel and holds its intended position without sudden drops.
- If it still fails
- If it slips or spring housing/cords are exposed, discontinue use and seek the exact manufacturer's service path.
- Keep for next time
- Blind type; maker/model; symptom video; outcome of approved slow cycles
Keep your actual measurements and observed result in your private project notebook. This is a verification checklist, not a product certification.
My project record: progress and take-home checklist
Select a progress stage if helpful. This is a personal record only, not a claim that MendNook verified your repair.
Includes this guide's specific diagnosis, decision, safety, and outcome checks, plus any note entered above. Nothing is sent to MendNook; downloads and copy operations stay under your control.