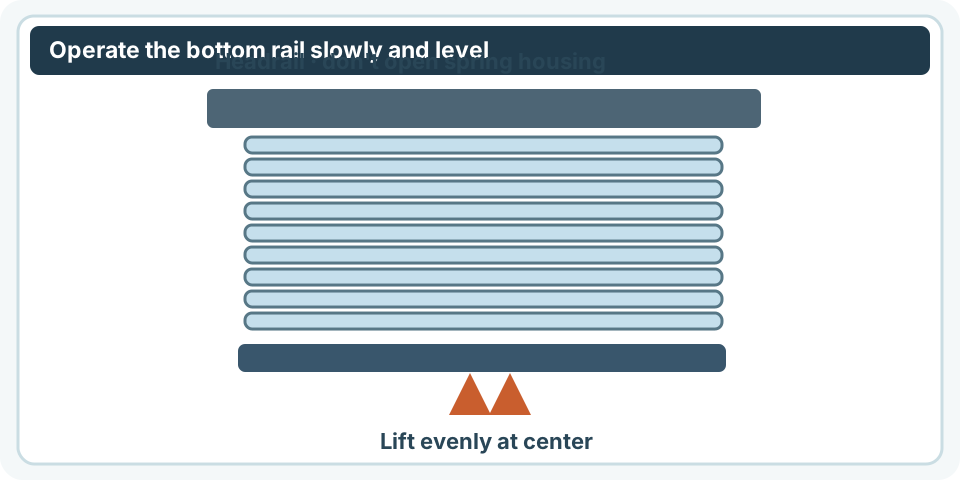
Check headrail level and manufacturer-approved travel before trying internal cordless cellular-shade repairs.
Before you buy or repair
- Record first
- Headrail level, shade type and both bottom-rail distances
- Make the decision
- Check fit and follow brand-specific cordless cellular instructions
- Stop & verify if
- Cells tear, cords expose or bracket/rail is unstable
Jump to a section
- Diagram checkpoints
- Identify the symptom first
- Confirm whether this is a cellular shade
- First check: clearance, level and mounting
- Compare the maker's actual reset advice with safe applicability
- One bottom rail or two moving rails? The reset can be different
- Worked inspection: distinguish tilt from incorrect mounting
- What creeping or sagging can mean
- Keep an effective repair record
- Child safety, warranty and stop conditions
- Sources and limitations
- After the project: did it work?
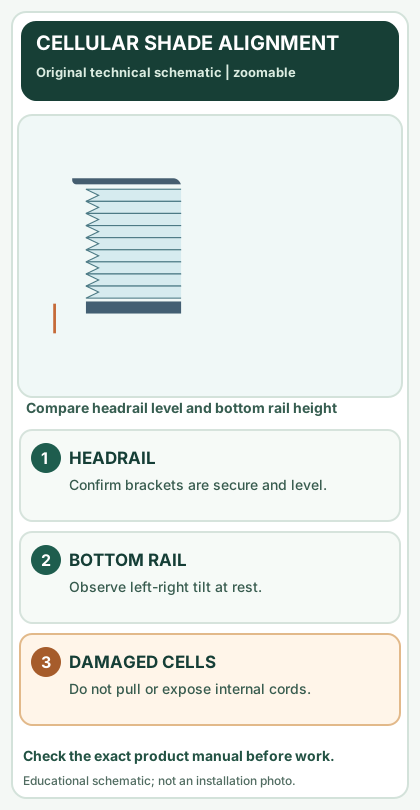
Open desktop diagram ↗ Open mobile diagram ↗
Read the diagram: three checkpoints
- Check headrail installation
- Compare rail-to-sill distances
- Stop if cords or cells are damaged
Cordless cellular shades use a different construction from mini blinds: a pleated honeycomb fabric assembly connected to a headrail and an internal lifting system. A shade that hangs crooked, creeps down or makes noise may need model-specific support — the apparent fault could be bracket position, fabric obstruction, a failed tension device or an internal spring. Do not pull hard on the honeycomb fabric to correct the position.
Identify the symptom first
On a narrow screen, scroll this table sideways to see every column.
| Symptom | Sensible observation | When to stop |
|---|---|---|
| Bottom rail uneven | Does the rail level during slow guided travel? | Fabric starts tearing or one side jams |
| Shade creeps downward | Does it hold at several normal heights? | Internal cords are visible or loose |
| Shade won't lift | Is the bottom rail free from sill and bracket? | Force is needed to move it |
| Clicking or rubbing noise | Does the sound come from headrail or fabric pleats? | Exposed mechanism, bent hardware |
| Light gaps at edges | Is it mounted square and the correct width? | Product was cut or altered incorrectly |
Confirm whether this is a cellular shade
Look for bonded pleated cells, not separate rotating slats. Photograph the headrail label, bottom rail, mount brackets and any top-down/bottom-up components. If the product has a chain, pull cord or motor, use the specific instructions for that control system instead.
Some cordless shades employ tension-control arrangements that should not be serviced outside the manufacturer. Never pull on internal cords, remove a spring cassette or loosen unknown tension clips.
First check: clearance, level and mounting
Inspect for curtains, sill objects or window hardware obstructing the shade. Verify that the headrail has not disengaged from a bracket and that the valance is not pressing against the fabric. Use a small level on a straight external reference, not the flexible fabric itself, to observe the installed position.
A crooked headrail can make a perfectly good shade look uneven. If mounting screws are loose or a wall anchor is damaged, stop operating the shade until it is secured. Do not drill new bracket holes without checking the surface and model installation manual.
Compare the maker's actual reset advice with safe applicability
The Blinds.com cellular-shade repair guide describes a specific tension reset for some cordless cellular shades that creep or hang unevenly: extend the shade to its normal lower end, then give the bottom rail a few firm tugs. That is what the published support page says; it is not a blanket instruction to jerk an unknown shade, pull the honeycomb fabric, dismantle a cassette or exceed a physical stop.
Before considering that method, verify all of these conditions: the shade is a matching cordless cellular product; its headrail is secured; the manufacturer documentation for the exact model permits the motion; the rail can reach its normal low position without snagging; and there are no visible torn cells, exposed cords or loose brackets. If you cannot establish the model or those conditions, stop at visual diagnosis and contact support.
The same retailer's repair page lists different remedies for different symptoms. A shade that will not lift may have a dormant spring; a shade that operates roughly may have a friction component issue; a shade that repeatedly creeps can have an internal holding problem. Do not remove friction clips or open the spring motor just because those are named in a general service article.
What an approved reset must achieve
If the exact maker permits an accessible bottom-rail reset, operate only within its published range. Afterward, observe the bottom rail at a low, intermediate and raised position. It should move evenly, remain held without uncommanded descent and avoid binding against the frame. If the shade still drops, tilts or scrapes, the trial is unsuccessful; more force is not a repair.
One bottom rail or two moving rails? The reset can be different
A standard bottom-up cordless cellular shade typically has one moving bottom rail. A top-down/bottom-up (TDBU) or Day & Night arrangement can have a moving middle rail as well. When the lower fabric looks bunched, that might be an operating-sequence problem rather than broken spring tension.
A published Blinds.com honeycomb installation sheet makes the distinction explicitly for its pictured cordless TDBU/Day & Night mechanisms: lower the bottom rail before the middle rail, and if this particular type will not lift, bring the middle rail down to the bottom rail before raising them together. The document is a specific product-family example, not an instruction to force the midrail of an unidentified shade.
On a narrow screen, scroll this table sideways to see every column.
| What is actually installed? | Low-risk inspection | Wrong assumption to avoid |
|---|---|---|
| Standard cordless honeycomb, bottom rail only | Check headrail engagement, lift from intended central handle, record whether it holds at three ordinary positions | Searching for a middle-rail reset on a one-rail product |
| Cordless TDBU with both bottom and middle rails | Photograph the two rail positions and check the exact service sheet's rail movement order | Pulling the honeycomb fabric or treating rail separation as a spring defect |
| Day & Night with two fabric zones | Label which fabric is above/below each moving rail and test only the approved operation sequence | Applying a basic bottom-up tension reset to two independently moving sections |
| Corded, continuous-loop or motorized cellular unit | Identify the controller and applicable safety device/limits first | Calling it cordless because the cords are not visible from the front |
Document a useful support case: “Model: __; one or two moving rails: __; starting bottom/middle positions: __; control type: __; fails to lift / creeps / tilts / snags: __.” Include a short safe-operation video showing both rails if present. Stop if fabric pulls away from the rail, the installed headrail loosens, internal cords show or operation requires force. Do not remove a safety tensioner or operate an unconfirmed midrail under load.
Worked inspection: distinguish tilt from incorrect mounting
Consider a shade that appears 1/2 inch lower on the right while fully extended. Measure the bottom-rail level relative to the window sill, then separately verify whether the headrail or sill is actually level. If the sill is sloped, the visible 1/2-inch difference may be a reference error rather than internal lift-cord imbalance.
Record three numbers if safe: left rail-to-sill distance, right distance and headrail level. An illustrative difference is not an approved tolerance and does not justify cutting a cord.
What creeping or sagging can mean
A shade that rises smoothly but slides back down may have an internal holding or spring-friction fault. On some systems, manufacturer service guidance may involve specific headrail parts or friction components; unauthorized adjustment can make the shade unsafe or void its warranty. If it repeatedly drops, keep it out of the child's reach and contact the seller for replacement parts or service.
If it will not lift at all, rule out visible obstructions and use the product label when requesting help. Never force a motorized or spring-loaded assembly by pulling hard on the fabric.
Keep an effective repair record
Save the manufacturer, model, approximate age, mounting style, symptom at each position and whether a slow operation test changed the behavior. Photograph the uneven rail beside a ruler with the sash and sill in view. This is useful evidence when comparing a warranty or parts quote.
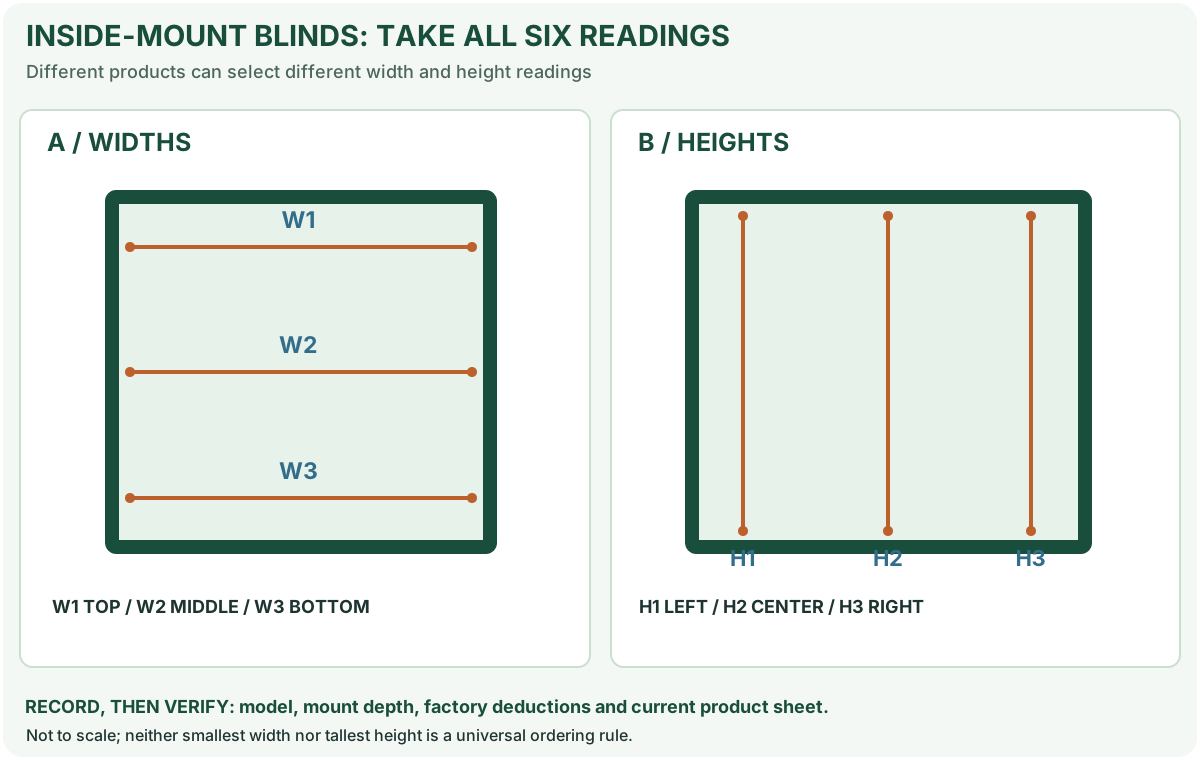
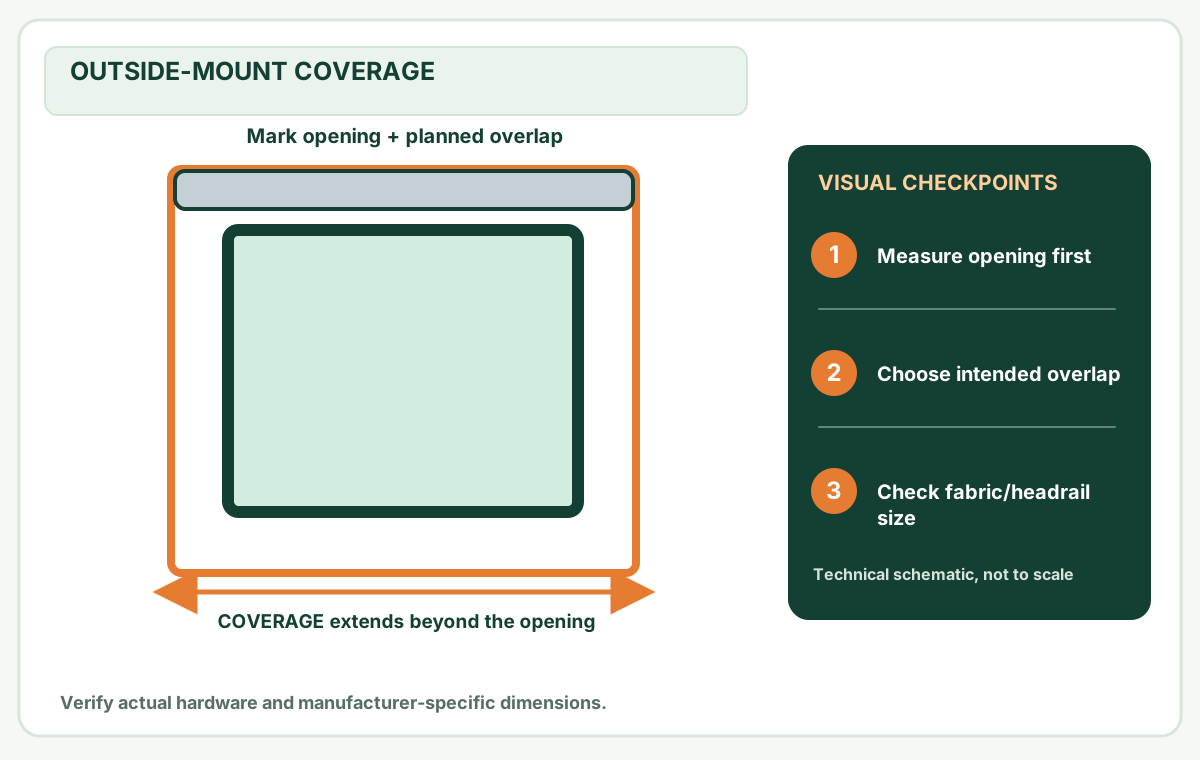
If replacement becomes necessary, measure the window properly using inside-mount guide or outside-mount guide according to the new product, not the defective shade’s distorted dimensions. The blind measurement helper can organize readings before ordering.
Child safety, warranty and stop conditions
Never create or leave exposed cord loops after opening the shade. If cord strands are visible, fabric is tearing, the rail can fall or brackets are loose, discontinue use and contact manufacturer support. Use an approved replacement rather than a non-certified internal spring modification.
Sources and limitations
- Blinds.com: How to install cellular shades — product-specific brackets, headrail seating and slow operating checks; styles and bracket positions vary.
- U.S. CPSC: Window covering cord safety — avoid accessible cord loops and unsafe alterations.
- Blinds.com: How to repair cellular shades.
- Blinds.com: How to repair cordless mini blinds — useful as a comparison showing different products require different instructions, not as repair instructions for cellular shades.
- Blinds.com: Honeycomb shade installation manual (cordless, TDBU and Day & Night) — original product-family movement sequence for bottom/middle rail; not universal.
MendNook has not physically tested the specific shade. Always verify the manufacturer manual and warranty procedures before internal repair.
After the project: did it work?
After completing only product-approved work, document what you actually observe instead of assuming a replacement part resolved the fault.
- Success looks like
- The shade operates within its intended range, rail stays level relative to a sound reference and fabric cells do not catch.
- If it still fails
- If it creeps down or internal cords are visible, do not improvise spring adjustment; contact manufacturer support.
- Keep for next time
- Headrail level; left/right rail heights; brand; recurring symptom
Keep your actual measurements and observed result in your private project notebook. This is a verification checklist, not a product certification.
My project record: progress and take-home checklist
Select a progress stage if helpful. This is a personal record only, not a claim that MendNook verified your repair.
Includes this guide's specific diagnosis, decision, safety, and outcome checks, plus any note entered above. Nothing is sent to MendNook; downloads and copy operations stay under your control.