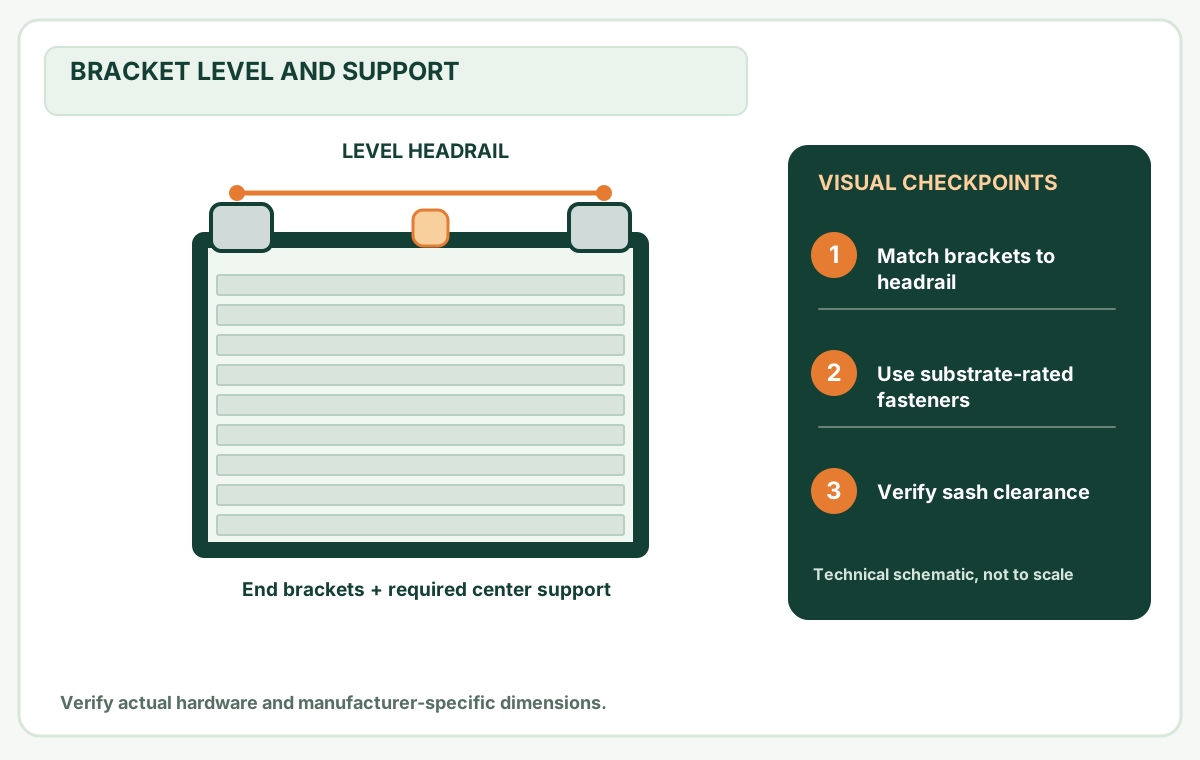
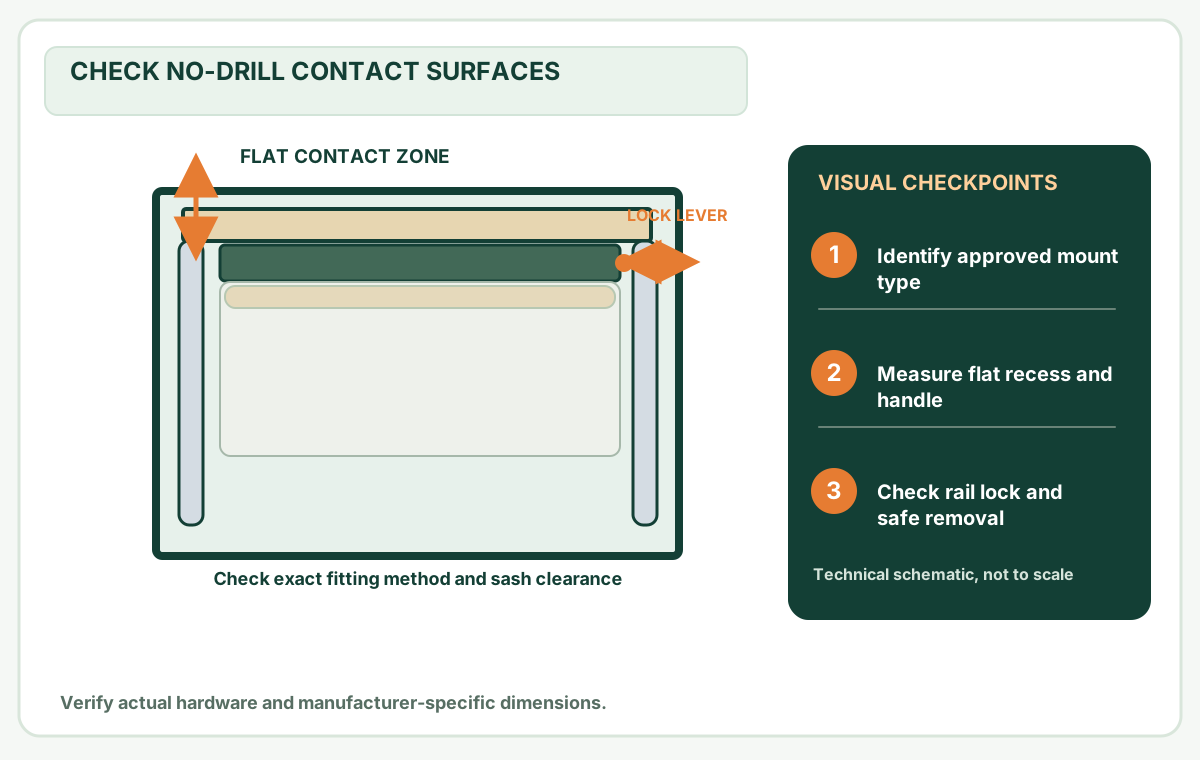
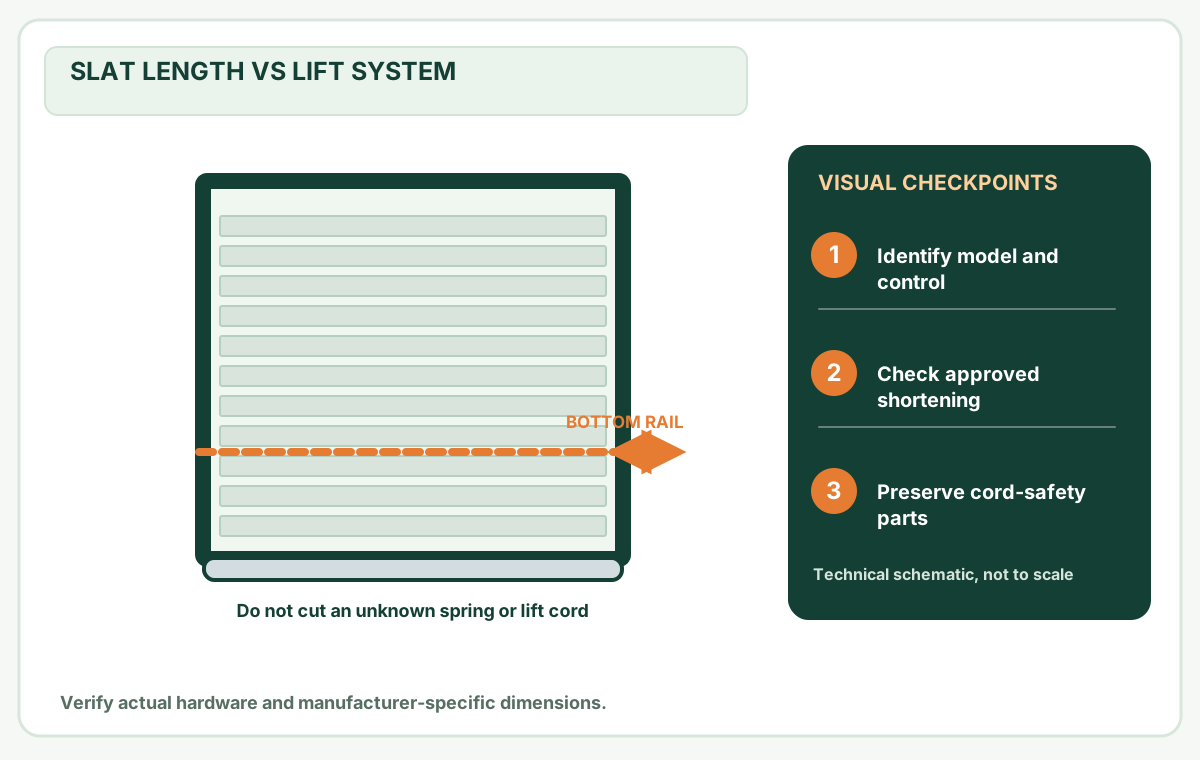
Identify the load-bearing bracket and release style before supporting and disengaging the headrail; box doors, cassette clips and pressure levers differ.
Before you buy or repair
- Record first
- Rail/SKU, bracket type, valance and motor/cord/center-support attachment positions
- Make the decision
- Exact maker's release-tab method and available safe rail support before unlatching
- Stop & verify if
- Unknown lock, heavy unsupported rail, live wiring, accessible cord loop or dangerous upper-story access
Jump to a section
- Determine your bracket type before touching the rail
- Read the diagram: three checkpoints
- Inspect for controls and safety devices
- Box-bracket horizontal blinds: documented example
- Clip-in roller shades: a different release path
- Worked decision: repainting a rental recess
- If the bracket refuses to release
- Record and protect the hardware after removal
- Keep a safe bracket and hardware removal record
- Questions readers ask
- Sources and limitations
- Questions before you buy or repair
- After the project: did it work?
Quick answer: Take a close-up photo of the headrail and both support brackets while the blind is still mounted. Identify whether it uses end box brackets, rear clip/cassette brackets or another mechanism. Raise and secure the blind as specified, support the weight of the headrail, then release only the model's designed catches. Blinds.com's standard horizontal instructions describe opening the two box-bracket doors after removing the valance, while a roller shade installation document calls for pressing a release tab and rotating the cassette/back bar out. Those operations are not interchangeable.
Determine your bracket type before touching the rail
On a narrow screen, scroll this table sideways to see every column.
| What you see | Possible system | Safe starting action |
|---|---|---|
| Rectangular cup at both rail ends with hinged front faces | Horizontal box bracket | Locate the latch and read manual for opening direction |
| Small metal spring clips holding a cassette or headrail | Rear/upper clip-in shade | Identify documented release tab |
| Discrete screw-mounted carriers with hooks | Vertical blind rail | Find manufacturer support and release procedure |
| Pressure-fit or lever-locked no-drill assembly | Integrated pressure mount | Follow a model-specific removal sequence; may release suddenly |
| Unknown rail with battery or motor housing | Motorized system | Locate electrical isolation and manufacturer instructions |
A box bracket door is not a decorative valance clip. Do not pull off the front trim by brute force while the headrail is still loaded. Where the rail is long or heavy, enlist a second adult and stand on stable manufacturer-recommended access equipment; never balance on a windowsill.
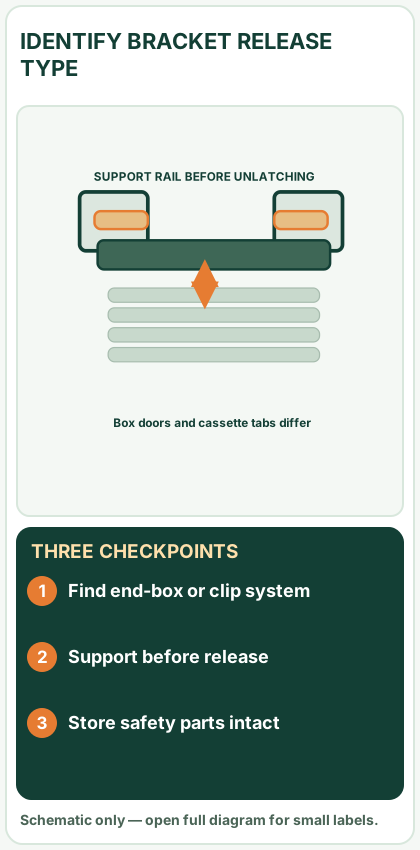
Open desktop diagram ↗ Open mobile diagram ↗
Read the diagram: three checkpoints
- Find end-box or clip system
- Support before release
- Store safety parts intact
Inspect for controls and safety devices
Identify any continuous loop tensioner, cordless spring mechanism, motor/battery wire, side guide, hold-down bracket, security fastener and valance return. Photograph where each attaches. Disconnecting or leaving required child-safety hardware loose can create hazards, so keep a labelled record for reinstallation or professional disposal. On motorized blinds, use the exact unit's isolation instructions rather than cutting a cable or working on an energized module.
If a blind could fall into a stairwell, over a balcony or from upper window height, hire an installer. Do not release the final support until you have firm control of the weight.
Box-bracket horizontal blinds: documented example
The Blinds.com standard horizontal blind installation/removal page specifies the sequence for its covered horizontal blind:
- Lift and secure the blind to its upper position as prescribed for the model. Do not yank a jammed cord or broken cordless rail.
- Take off the decorative valance without forcing its clips; label how it attaches.
- Place one hand beneath or around the headrail to carry its weight. Another person supports the opposite end for wider systems.
- Open both end box-bracket doors using their intended latches. If a faceplate doesn't open with ordinary manufacturer-intended action, stop and re-identify its design.
- Move the headrail out of both brackets while keeping it supported and clearing any center supports.
- Only then unscrew brackets if you are removing the mounts too. Preserve screws and anchors in a labelled bag.
This is not a universal process for roller shades, Roman shades, clip-on blinds, no-drill systems or motorized setups.
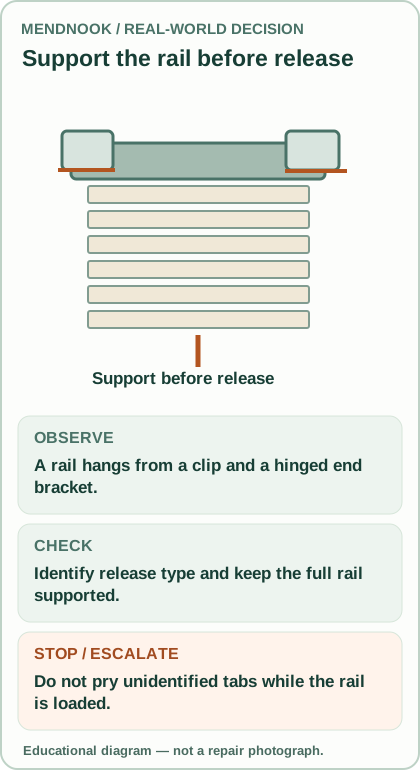
Clip-in roller shades: a different release path
A Blinds.com roller shade instruction sheet says that for its covered roller shade, the shade is rolled up, the appropriate release tab is pressed, and the upper back bar is rotated out. The release location differs with cassette/valance configuration. A screwdriver used at a wrong clip can permanently bend the lock.
The LEVOLOR blinds removal PDF shows separate box bracket and center-support handling for another particular product family, and cautions users to hold the blind firmly while releasing it. Never mix drawings from unrelated styles.
Worked decision: repainting a rental recess
Hypothetical scenario: The tenant has a white horizontal blind with two hinged square end brackets and a decorative valance, but no manual. Before using a tool, they photograph both brackets and find the product label under the headrail or purchase order. They verify the product uses the box-bracket opening method. With the blind raised, two people support the rail, remove the valance and disengage latches in the published order. They label hardware, check the wall surface, and avoid leaving an exposed screw in an accessible edge.
If they cannot determine the design, they do not lever the rail from below just because a video of a different blind shows a flat-head screwdriver.
If the bracket refuses to release
On a narrow screen, scroll this table sideways to see every column.
| Symptom | Likely question | Stop condition |
|---|---|---|
| Bracket door seems glued shut | Paint, corrosion or different latch design? | Don't pry harder without model proof |
| Headrail rotates but won't come out | Hidden clip or center support still engaged? | Support and inspect visible catches |
| Cord is tangled around rail | Control system not secured? | Avoid cutting through lift system |
| One clip releases suddenly | Weight now borne by fewer clips | Support entire rail before continuing |
| Valance clips crack | Brittle old plastic or wrong release angle | Stop pulling and obtain parts |
| Motorized shade won't detach | Battery/control or wired component present? | Follow electrical isolation and service manual |
For no-drill pressure-fit hardware, see the separate no-drill blind guide once it has passed publication checks. Some pressure levers may release abruptly, so their actual manufacturer removal instructions take priority.
Record and protect the hardware after removal
Label which bracket was on which side, keep original screws separate from wall plugs/anchors, and photograph the wall before filling holes. Check whether the lease, window warranty or original installer requires repair before repainting. Store the blind horizontally on support where practical; avoid crushing slats or leaving reachable operating cord loops. If reinstalling, check the bracket's structural fixing again before hanging the rail.
Pass: blind removed with no fall, broken support or damaged window, required safety parts retained, mounting holes and hardware documented, and the stored shade does not present a cord hazard. If not: stop, support the partially released rail and consult the maker or installer. Record: bracket type, SKU, clip positions, removal sequence actually used, any damage and hardware location.
Keep a safe bracket and hardware removal record
Before releasing a headrail, take a close-up of both actual end brackets and any center support with the blind still attached. Photograph the product label and decorative valance; identify whether you are looking at a box door, spring clip, cassette tab or lever-locked pressure assembly. If these pictures do not match the exact manufacturer's removal guide, do not pry.
With the headrail fully supported, photograph only the release action that the maker specifies. Once the blind is removed, photograph the empty bracket and stored screws so left/right parts can be identified for future installation. Check that no sharp fastener is left exposed and no operating cord loop becomes accessible to children.
Accept: supported removal without a fall or broken mounts; parts are labelled and safely stored. If not: keep the assembly supported and contact an installer rather than applying more force.
Questions readers ask
Can I simply pull the headrail forward? No. Confirm the latch and support type first.
Do I remove the valance before the blind? Some horizontal blinds do; use the model's method.
Should I unscrew the brackets while holding the blind? Usually remove the supported blind first when the maker directs, then fasteners. Do not remove a loaded mount.
Can I reuse brackets? Only if intact, compatible with the new model, and structurally secure.
Sources and limitations
- Blinds.com — Standard Horizontal Blind Installation and Removal.
- Blinds.com — Roller Shade Installation and Removal PDF.
- LEVOLOR — Installation/Removal Directions (hosted by Blinds.com).
Evidence limits: These procedures summarize named manufacturer systems. They do not represent a blind physically removed by MendNook.
Questions before you buy or repair
Can I pull a blind straight from its brackets?
No. Identify the lock or release tab and support the rail first; forcing it can break clips or cause a fall.
Do I remove the valance first?
Some horizontal systems instruct removal first, but cassette and specialty products use different sequences.
Can a pressure-fit no-drill headrail release suddenly?
Yes. Some manufacturer's levers can release abruptly; follow the identified system's removal instructions.
These answers summarize the guide's documented evidence. Check the cited sources and exact model instructions above before ordering parts.
After the project: did it work?
After completing only product-approved work, document what you actually observe instead of assuming a replacement part resolved the fault.
- Success looks like
- Supported blind is removed without falling or breaking mounts; original hardware and cord safety remain controlled.
- If it still fails
- Stop if a hidden clip remains loaded, motor wiring is present or the rail cannot be safely supported.
- Keep for next time
- SKU, bracket type, release points, supporting method, condition of clips and labelled hardware
Keep your actual measurements and observed result in your private project notebook. This is a verification checklist, not a product certification.
My project record: progress and take-home checklist
Select a progress stage if helpful. This is a personal record only, not a claim that MendNook verified your repair.
Includes this guide's specific diagnosis, decision, safety, and outcome checks, plus any note entered above. Nothing is sent to MendNook; downloads and copy operations stay under your control.