Mounting brackets must be appropriate to the actual blind model and substrate; an even looking valance does not prove a secure, level headrail.
Before you buy or repair
- Record first
- Blind SKU, mount type, mounting substrate, bracket quantity and center-support locations
- Make the decision
- Product-rated screw/anchor arrangement, bracket level and headrail/handle clearance
- Stop & verify if
- Unsound wall, uncertain fastener load, blocked emergency opening or unsecured heavy rail
Jump to a section
- What kind of bracket came in the box?
- Read the diagram: three checkpoints
- Decide inside or outside mount before marking holes
- Check the material behind your screws
- Preparation that prevents crooked installation
- Mount, engage, then test
- Diagnosis table after installation
- Verify the mounted headrail and record actual fit
- Questions readers ask
- Sources and limits
- Questions before you buy or repair
- After the project: did it work?
Quick answer: Before drilling, identify the full blind SKU, inside/outside mount, included left/right brackets, any center supports, wall material and handle clearance. A level headrail and suitable anchoring matter more than following a single generic bracket offset. Blinds.com's horizontal blind instructions explain left/right end brackets, optional center supports, bracket doors and final operating tests. Its wood-blind guide uses different model-specific placement details. Treat these as examples, not universal rules.
What kind of bracket came in the box?
On a narrow screen, scroll this table sideways to see every column.
| Part in your kit | Purpose | Common fitting mistake |
|---|---|---|
| Left/right end box bracket | Receives both ends of compatible headrail | Installing an unlabelled box backward so the door faces the glass |
| Center support | Supports wide blinds where the model calls for it | Installing over moving ladder cords or lift components |
| Clip-in cassette bracket | Locks a compatible cassette or shade rail | Assuming a box-bracket release procedure applies |
| Spacer or extension block | Provides model-approved clearance | Improvising washers that shift the load off the mounting surface |
| Valance clip | Attaches decorative trim to the rail | Confusing it with a load-bearing bracket |
Check the quantity on the exact instructions. The number and spacing of support brackets vary with headrail width and mechanism. Do not discard an apparently spare support bracket until the installation booklet confirms it is optional.
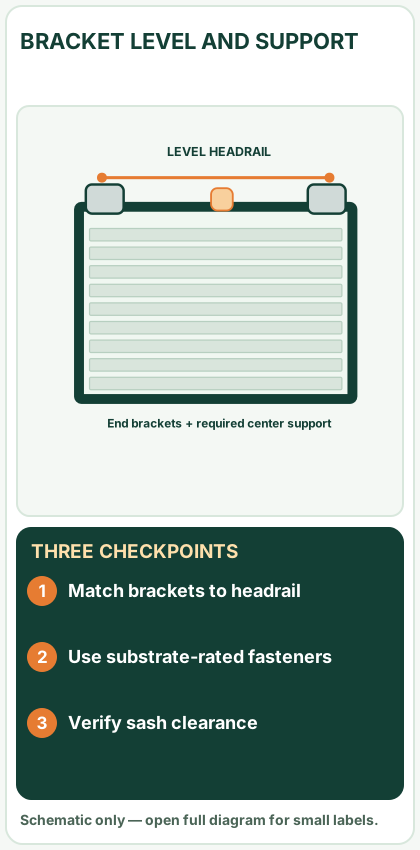
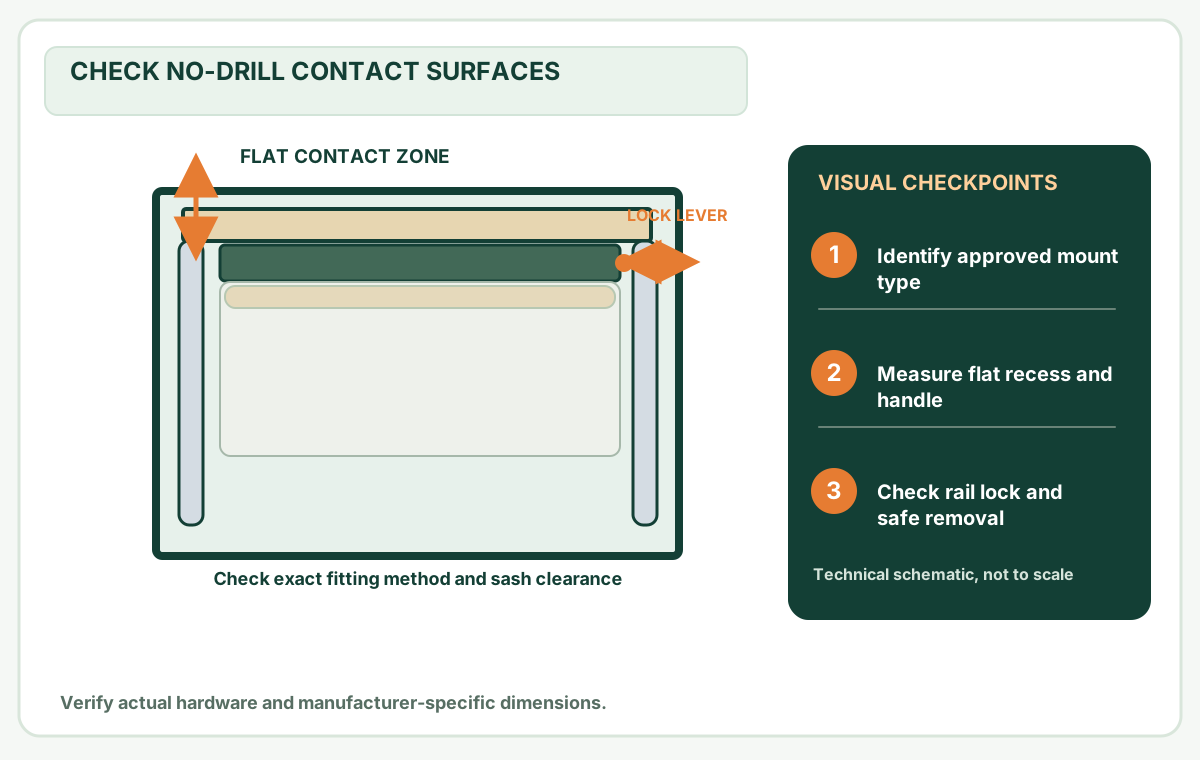
Open desktop diagram ↗ Open mobile diagram ↗
Read the diagram: three checkpoints
- Match brackets to headrail
- Use substrate-rated fasteners
- Verify sash clearance
Decide inside or outside mount before marking holes
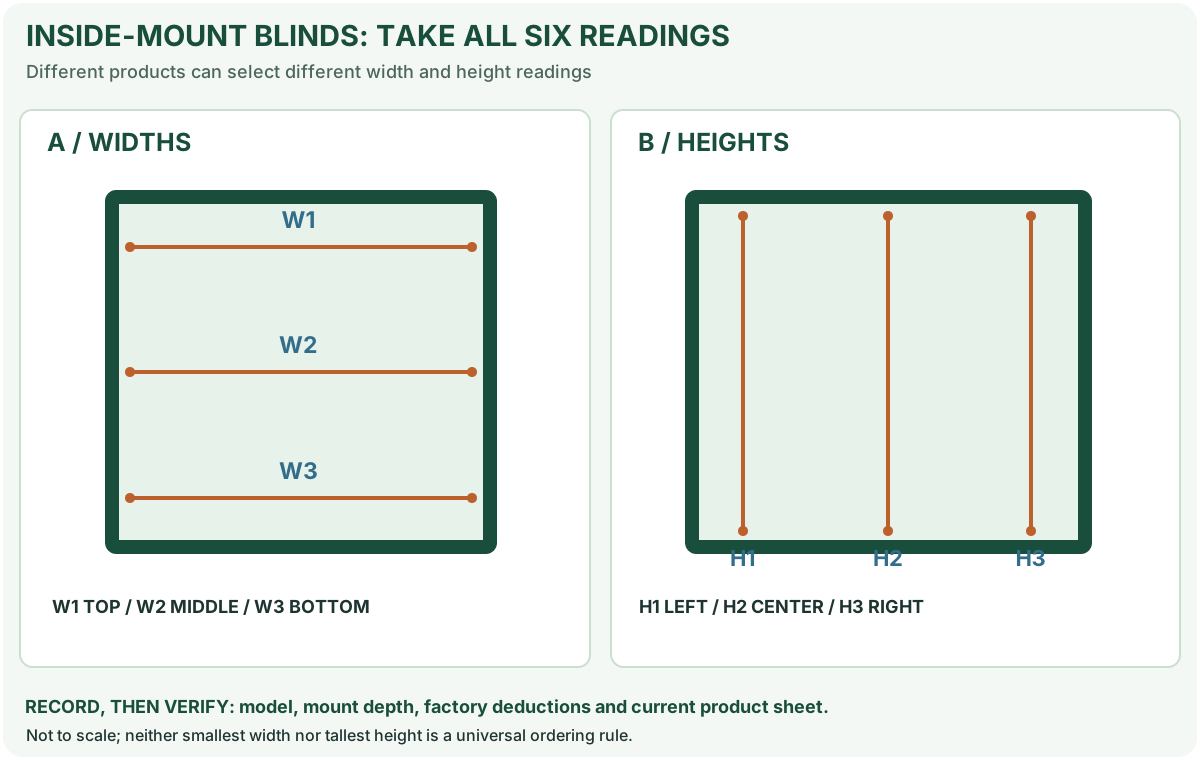
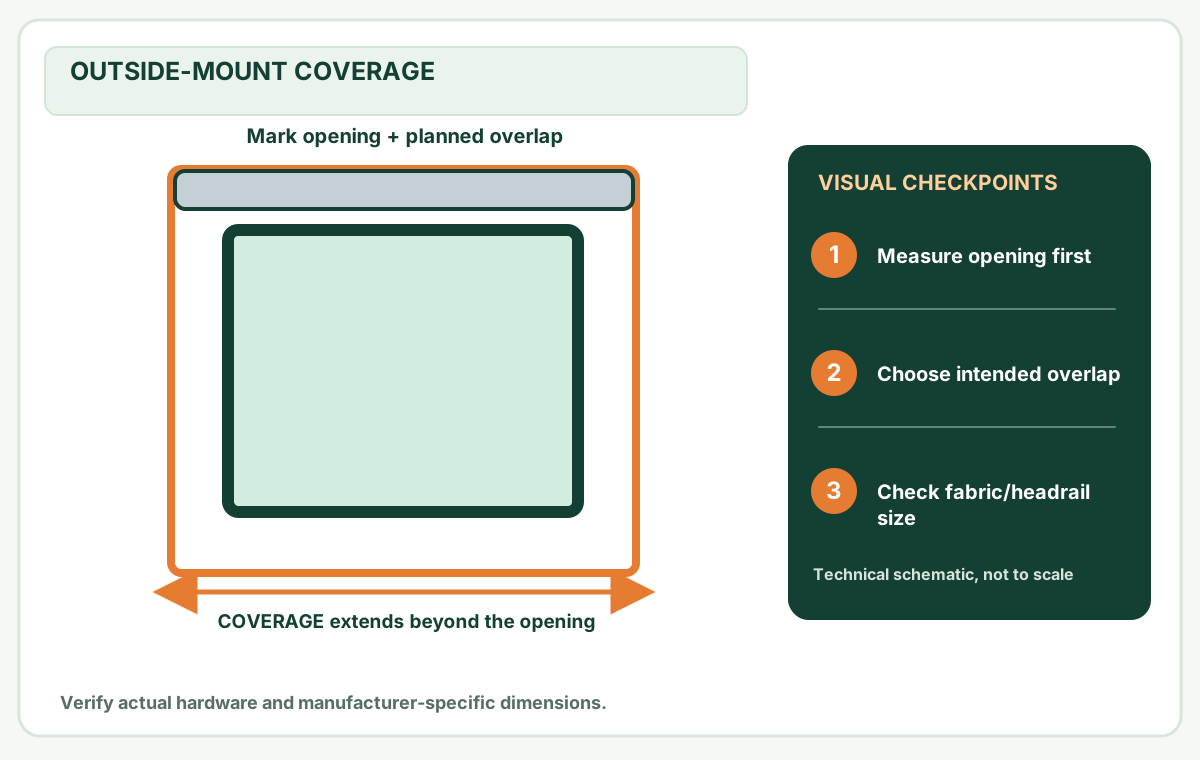
An inside mount lives within the recess, so the critical questions are usable depth, width and obstructions. An outside mount overlaps the opening, so you must determine the intended location of the headrail, whether the wall can support screws and whether the fabric/slats can clear trim and handles. Our inside-mount measuring guide and outside-mount measuring guide explain why order dimensions are product-specific. Do not move mounting marks merely to compensate for a blind ordered too wide.
Record the exact product/SKU, full headrail width, every fastener type, recess depth or wall mounting plane, and sash travel. Measure from fixed references and use a level: two equal distances from an uneven trim board may still produce an unlevel rail.
Check the material behind your screws
Wood trim, plasterboard/drywall, masonry, steel or aluminum framing and hollow uPVC profiles are not interchangeable substrates. Included wood screws may be suitable for sound wood but not for crumbly plasterboard or a thin metal profile. The Blinds.com installation guidance explicitly distinguishes drilling and possible additional hardware. Identify the substrate and choose the anchor/fastener load capacity as specified by the blind and fixing manufacturer, not a random universal plug. Do not drill through an insulated window unit, hidden wiring or a structural/egress assembly.
Stop if the substrate is unsound, if you cannot locate a safe mounting line, if required fastener engagement is unknown, or if the blind is too heavy to lift safely. Do not substitute adhesive for a screw-fixed bracket.
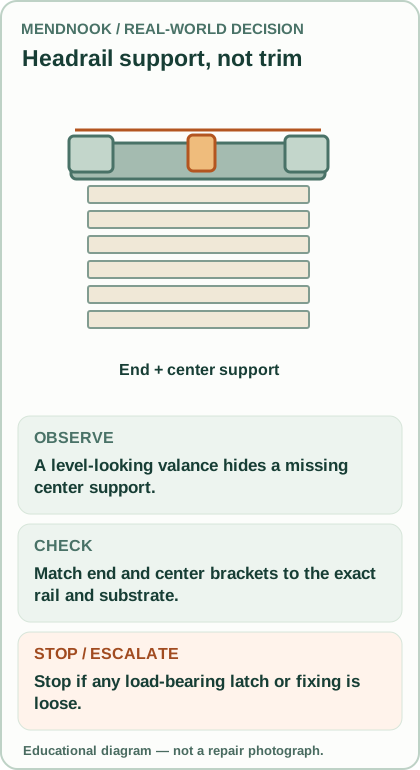
Preparation that prevents crooked installation
- Inspect all unpacked components for damage. Leave protective packaging available until fit is confirmed; distinguish left and right labels.
- Place the unopened brackets against the proposed mounting plane, including any center supports, and check free access to latch doors.
- Hold the rail at the proposed height with another adult if needed. Confirm an open sash, crank, handle and flyscreen will still operate normally.
- Mark the bracket screw holes through the actual bracket using the model instruction, not the end of the decorative valance.
- Check level from mark to mark and photograph the result before drilling. Where the product needs center support, mark its legal position away from control components.
- Verify drill bit, screws, anchors and edge distance appropriate for the mounting surface; if unknown, stop and ask the supplier/installer.
Worked example (illustrative): Your blind is 46 in wide but the headrail has a 1/2-in decorative overhang on each end. The bracket marks must follow the actual load-bearing headrail and chosen product manual, not 46+1 inches or a measured valance width. No generic offset is given here because supplier instructions differ.
Mount, engage, then test
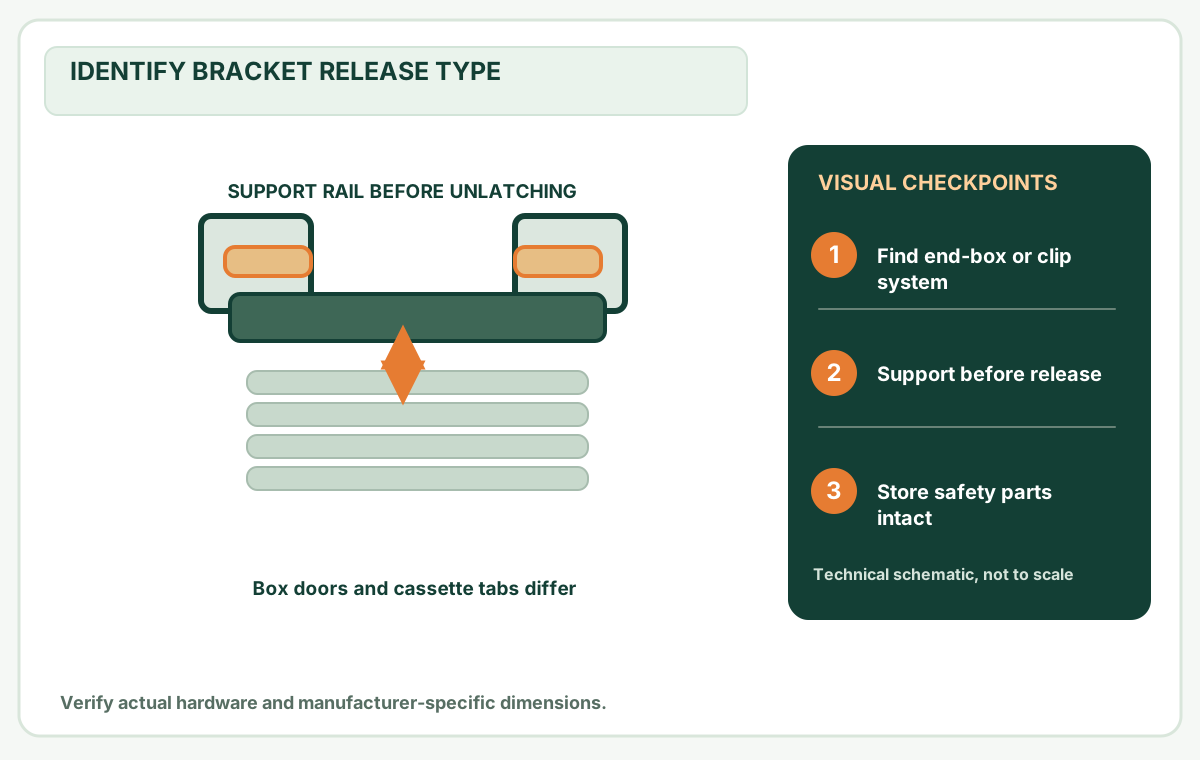
For identified box-bracket horizontal blinds (not all styles): drill suitable pilot holes if approved, fasten brackets plumb and level, and include supplied center support where required. Check each screw is secure without crushing the bracket. With both bracket doors open, lift the headrail securely onto supports; close doors fully until their locking mechanism engages. Attach the valance only after the functional rail is correctly fixed.
For a clip-in shade bracket, do not try to close a box door that does not exist. Use its specified hook/rotation/click sequence. A partial click or one unsecured bracket is a failed fit, even if the rail hangs.
The wood-blind installation guide asks users to raise and lower the blind and tilt its slats after installation. Confirm slow, full normal travel, centered headrail, unobstructed cords/wand and normal window operation. Install every supplied child-safety device as directed, and do not cut operating cords as a clearance shortcut.
Diagnosis table after installation
On a narrow screen, scroll this table sideways to see every column.
| Fault | First check | Avoid |
|---|---|---|
| One end drops when lowering | Bracket engagement and fixing security | Keeping it in service while partly latched |
| Blind scrapes window handle | Depth or extension position | Bending sash hardware |
| Headrail is level but slats hang unevenly | Product length and lift mechanism | Moving one bracket to conceal a damaged lift system |
| Brackets loosen in plaster | Correct anchor and sound substrate | Larger screws in the same failed hole without assessment |
| Window no longer opens | Sash swing clearance | Sacrificing safe egress |
Verify the mounted headrail and record actual fit
Record the blind's complete SKU and all included load-bearing brackets before drilling. A photograph of the wall or window trim with a ruler and level helps a supplier see the proposed support plane. Photograph the screw/anchor packaging only after confirming it is rated for that substrate and product; a close-up of a random screw is not proof that the mount is safe.
With the rail fully supported, capture both engaged end brackets and any required center support. Photograph handle clearance while the window is safely operated, and slowly raise, lower and tilt the blind to check for unusual friction or wobble. If the headrail shifts, a latch is partly open or the fastener pulls from the wall, stop using it.
Accept: all required brackets are secure, rail remains level, blind functions normally and egress is not blocked. If not: keep the exact SKU, bracket layout, fasteners and fault photos for manufacturer or installer diagnosis.
Questions readers ask
How many brackets do I need? Use the exact manufacturer's table. Width and headrail mechanism matter.
Can I screw into drywall only? Only if the specified rated fixing and sound substrate meet the product's requirements; ordinary wood screws alone may not.
Can I install brackets over the sash? Avoid any placement that blocks safe window movement or requires drilling the sealed unit.
Should the valance go on first? Follow the model directions. The decorative valance does not support the rail.
Sources and limits
- Blinds.com standard horizontal blind installation.
- Blinds.com wood-blind installation.
- Blinds.com installation overview and model-specific guides.
Evidence limits: Product instructions govern fasteners and clearances. MendNook has not physically installed and load-tested the specific blind described here.
Questions before you buy or repair
Can I mount a heavy blind with drywall screws only?
Only use the product's specified fixing method in a sound load-bearing substrate; an unsuitable anchor can allow the headrail to fall.
Do all blinds have two brackets?
No. Wider or different headrails may require center supports or proprietary clips; check the exact SKU's bracket chart.
Do blind brackets have universal spacing?
No. Position and fastener types depend on the model, mount style, headrail and obstacles.
These answers summarize the guide's documented evidence. Check the cited sources and exact model instructions above before ordering parts.
After the project: did it work?
After completing only product-approved work, document what you actually observe instead of assuming a replacement part resolved the fault.
- Success looks like
- All required brackets are secure, headrail is level, controls travel normally and window clearance and egress remain intact.
- If it still fails
- Stop using a falling or loose headrail; inspect rated anchors, missing supports and product-specific attachment.
- Keep for next time
- Blind SKU, substrate, bracket number/placement, fixings, clearance and final function test
Keep your actual measurements and observed result in your private project notebook. This is a verification checklist, not a product certification.
My project record: progress and take-home checklist
Select a progress stage if helpful. This is a personal record only, not a claim that MendNook verified your repair.
Includes this guide's specific diagnosis, decision, safety, and outcome checks, plus any note entered above. Nothing is sent to MendNook; downloads and copy operations stay under your control.