Use the manufacturer order convention; a patio opening is not automatically a replacement screen-frame size.
Before you buy or repair
- Record first
- Existing outside frame dimensions, model label and track geometry
- Make the decision
- Use the supplier's model-specific finished-size convention
- Stop & verify if
- No screen exists and no manufacturer measurement specification is available
Jump to a section
- Diagram checkpoints
- Pick the correct measurement path
- A real manufacturer's order convention: unit ID versus panel width
- Measure an intact screen without bending it
- When the old screen is missing
- Worked worksheet: disagreement between two widths
- Fill in a seven-field supplier-ready worksheet
- Hardware and clearance checklist before ordering
- Step-by-step order check
- Stop and request help when
- Sources and limitations
- After the project: did it work?
Open desktop diagram ↗ Open mobile diagram ↗
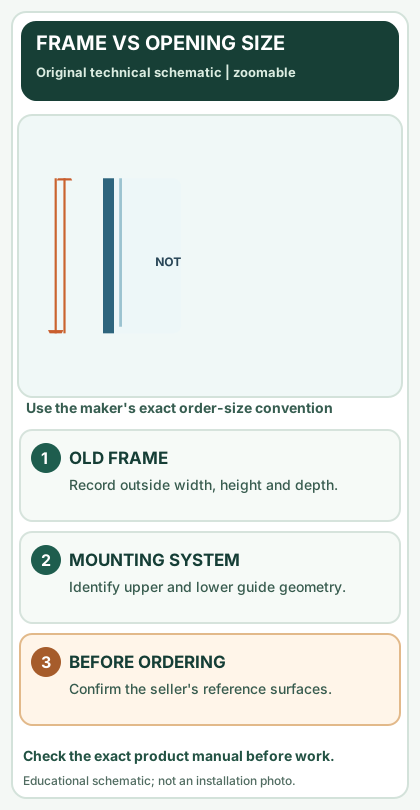
Read the diagram: three checkpoints
- Identify unit/series
- Record frame outside edges
- Confirm seller order convention
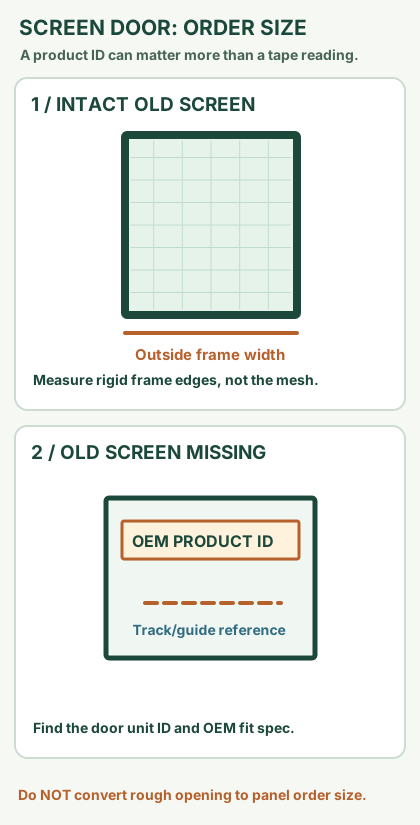
Ordering a replacement sliding insect-screen panel is not the same as ordering a glass patio door. A listing may request finished panel outside dimensions, a door-series identifier or a manufacturer-specific nominal size. Your first job is to identify which quantity the seller is asking for. Never automatically subtract a generic allowance from an opening measurement.
Pick the correct measurement path
On a narrow screen, scroll this table sideways to see every column.
| What you have | First evidence to collect | Ordering caution |
|---|---|---|
| Existing screen that still fits | Outside frame width and height, plus model label | A bowed or misadjusted panel may not be a trustworthy template |
| Existing damaged/missing screen | Patio-door brand, series, panel configuration and hardware profile | Glass-door opening and screen size are rarely interchangeable |
| Custom unbranded screen system | Track-to-track positions, retainer type and vendor drawing | Request the supplier's specific measurement diagram |
| Screen slides but falls out | Check rollers and tracks first | Wrong adjustment may resemble wrong panel height |
Photograph the label first. Andersen's parts information shows that replacement panels can be identified by unit or product ID rather than by a single hand-measured opening number.
A real manufacturer's order convention: unit ID versus panel width
The Andersen 200 Series Narroline parts catalog asks for part description, quantity, product ID and any changed options when ordering a gliding insect screen. It notes that custom-size screens are made to order and that four-panel door configurations use two screen panels and an astragal kit. That ordering route is fundamentally different from entering an approximate tape-measure width on a generic screen-shop form.
Andersen's separate product-ID label guide explains that identification labels can provide the product series, size and configuration information used for parts/service. You do not need to remove a heavy glass panel solely to find a label; check safe accessible locations or ask support where the identifier is on your exact unit.
On a narrow screen, scroll this table sideways to see every column.
| Order field the seller requests | Where to obtain it | Why guessing is costly |
|---|---|---|
| Door-unit product ID or series | Manufacturer label / service documentation | Screens for similar-looking openings may have different track and retainer arrangements |
| Existing framed-screen outside width/height | Flat, supported, intact insect screen | A distorted panel is not a reliable fit master |
| Sill-to-head guide geometry | Specific manufacturer's published diagram | A guide rib or top spring can change the required fit |
| Screen material / color / handle side | Original unit and parts catalog option list | Two physically similar assemblies can differ in panel orientation or hardware |
| Quantity / screen configuration | Actual 2-, 3- or 4-panel patio-door arrangement | A multi-panel assembly may require multiple screens or an intermediate astragal |
This is an example of an OEM parts route, not a claim that every Andersen line or independent replacement supplier uses identical fields. If you have a matched original product ID, ask the parts maker to confirm the screen item and compatibility before treating field measurements as an order specification.
Measure an intact screen without bending it
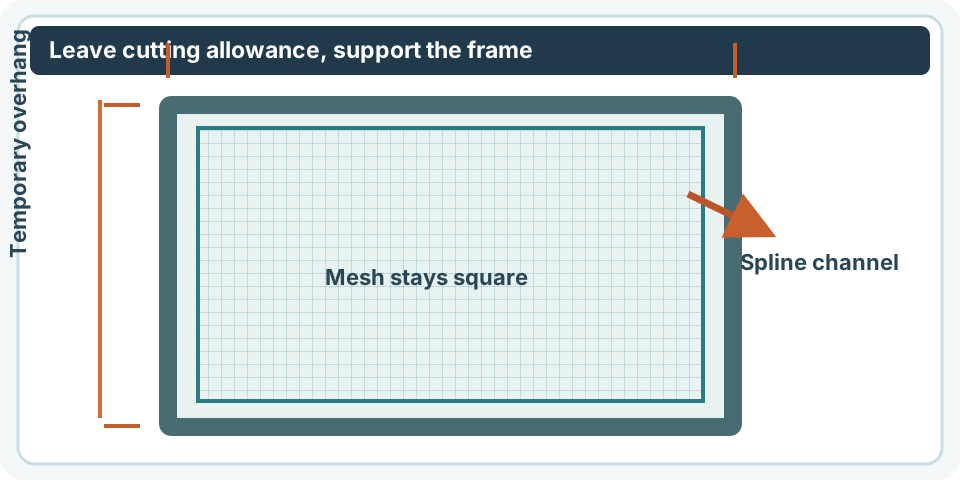
With the screen safely removed and lying flat, record outer frame width at the top and bottom, and outer height on both sides. Note where the rollers project relative to the rigid frame. Record the position of the latch, handle and any clips. Don't measure across flexible mesh, from a damaged corner, or through the compressible wheel as though it were rigid frame metal.
If the left and right heights are unequal, check whether the frame is racked before averaging. Compare the two diagonals as a geometry check, not a proof that the panel fits the track.
When the old screen is missing
Record the patio-door brand and model, opening configuration (two-, three- or four-panel assembly), approximate manufacture date, orientation of the sliding panel and exact track/guide profile. A screen may run on a dedicated guide inside or outside the glass-door frame. Do not confuse the width of the glass opening with the manufacturer’s replacement-screen order size.
Ask the parts supplier for its official measurement diagram and the required tolerance/clearance rules. If it requires a finished outside-frame dimension, establish exactly which edge positions to use. If it requires a part or unit number, do not convert your DIY opening measurement into a fictional part number.
Worked worksheet: disagreement between two widths
Suppose an older panel measures 35 15/16 in at the top and 35 11/16 in at the bottom, a 1/4-inch difference. Averaging to 35 13/16 in would hide a potential distorted frame or damaged corner. Check the rail on a flat reference surface and repeat the measurement from the same outside edges. If the screen never fitted correctly, the average must not be used as an order instruction.
This numerical example shows why a measurement disagreement matters. It is not an industry-wide rejection tolerance.
Fill in a seven-field supplier-ready worksheet
Use one page of notes rather than sending an ambiguous photograph of your tape:
On a narrow screen, scroll this table sideways to see every column.
| Field | Your observation |
|---|---|
| Brand / series / approximate year | Exact label text or “unknown” |
| Door configuration and active sliding side | 2-, 3-, 4-panel; interior/exterior as viewed |
| Existing screen outside width (top / bottom) | Both values, same rigid outer frame edges |
| Existing screen outside height (left / right) | Both values, without including wheel projection |
| Frame depth / profile | Ruler/photo of an intact edge |
| Top and bottom guide system | Lower wheel, upper guide/spring or top-hung glide |
| Latch, handle side and product ID | Photos with original installed orientation |
If the panel is missing: clearly cross out the two “existing screen” fields, rather than filling them with glass opening dimensions. Ask the seller which other published references to use. When documentation and on-site dimensions disagree, stop the order and request a fit clarification. This is more useful than a false-precision 1/16-inch “universal” deduction.
A manufacturer may include rollers but sell the latch separately. Andersen's 200/400 Series installation article notes the latch is not included with certain replacement gliding insect screens. Confirm the bill of materials, not merely the product photo.
Hardware and clearance checklist before ordering
Record the roller type, housing placement, how it is adjusted, top spring or guide arrangement, latch receiver position, frame thickness/profile and color. Photograph each corner from two angles with a ruler beside it. Determine whether your chosen replacement comes with roller assemblies and latch hardware: product bundles differ.
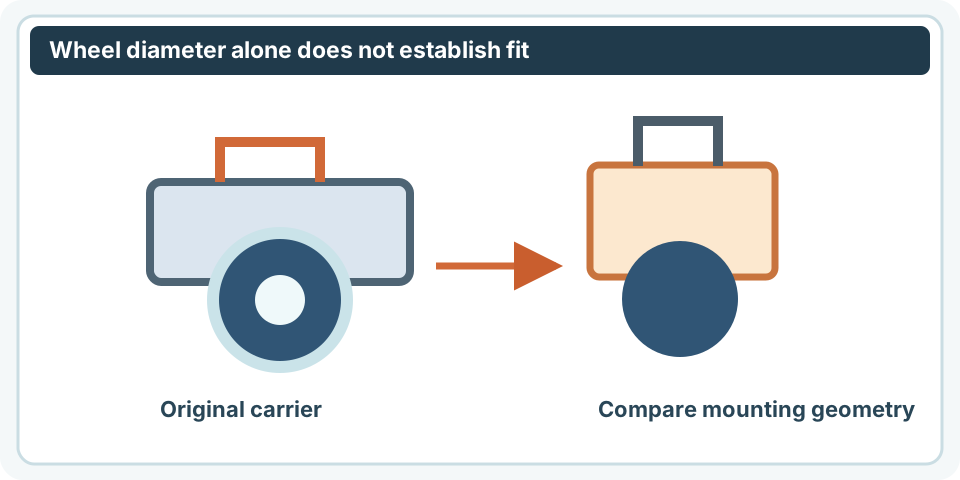
Identify a screen mechanism, not just a wheel: Andersen documents 100 Series insect screens with top and bottom rollers, 200/400/A-Series variations with spring guides or rollers, and E-Series insect screens with glide hooks rather than rollers. Review the model-by-model roller identification guide before treating a wheel-size measurement as a valid screen-panel order specification. The Andersen series comparison is an example of why hardware identification matters; it is not a fitting rule for a different brand.
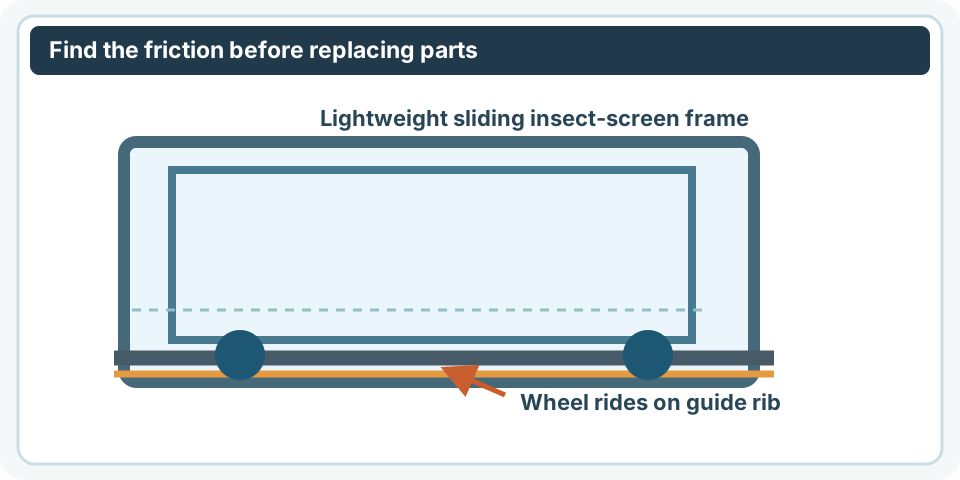
If the screen drags, use sliding screen diagnosis and verify whether correct adjustment resolves the issue before ordering an entire frame. For mesh-only damage, rescreening a screen door may be sufficient.
Step-by-step order check
- Identify the brand/series and locate the supplier’s own fit measurement instructions.
- Record the measurement type in large letters: “existing outside screen frame,” “track opening,” or “seller-specified finished size.”
- Measure at least two positions on each axis; note any deviation rather than hiding it.
- Record frame depth, handle/latch location and retainers.
- Compare values with the supplier's declared standard or custom sizes.
- Recheck all units and fractional rounding rules before confirming a purchase.
- Keep a copy of the exact part description and return/fit policy.
Use the measurement worksheet to record values and the project notebook on this page to save unresolved compatibility questions.
Stop and request help when
The door brand is unknown and the screen has vanished, the track appears modified, a panel is too heavy or awkward for safe measurement, the supplied diagram conflicts with what you see, or the original screen is visibly skewed. In these cases a qualified screen supplier should confirm fit on site. Do not order by a generic internet “minus 1/8 inch” rule.
Sources and limitations
- Andersen: Install gliding insect screens on 200/400 Series doors.
- Andersen: 100 Series insect-screen installation.
- Metro Screenworks: measuring systems differ by mounting method.
- Andersen: 200 Series Narroline replacement-screen ordering fields (parts catalog).
- Andersen: Product ID label identification.
These are research sources showing why manufacturer-specific fit matters; they are not a universal replacement screen-door dimensions chart.
After the project: did it work?
After completing only product-approved work, document what you actually observe instead of assuming a replacement part resolved the fault.
- Success looks like
- Your supplier confirms the required finished-screen or OEM part convention, and recorded frame dimensions/roller/latch hardware agree.
- If it still fails
- If the original panel is distorted or missing and OEM sizing is unclear, do not order from a patio opening alone.
- Keep for next time
- Brand/series; exact measurement reference; outside frame readings; hardware profile
Keep your actual measurements and observed result in your private project notebook. This is a verification checklist, not a product certification.
My project record: progress and take-home checklist
Select a progress stage if helpful. This is a personal record only, not a claim that MendNook verified your repair.
Includes this guide's specific diagnosis, decision, safety, and outcome checks, plus any note entered above. Nothing is sent to MendNook; downloads and copy operations stay under your control.