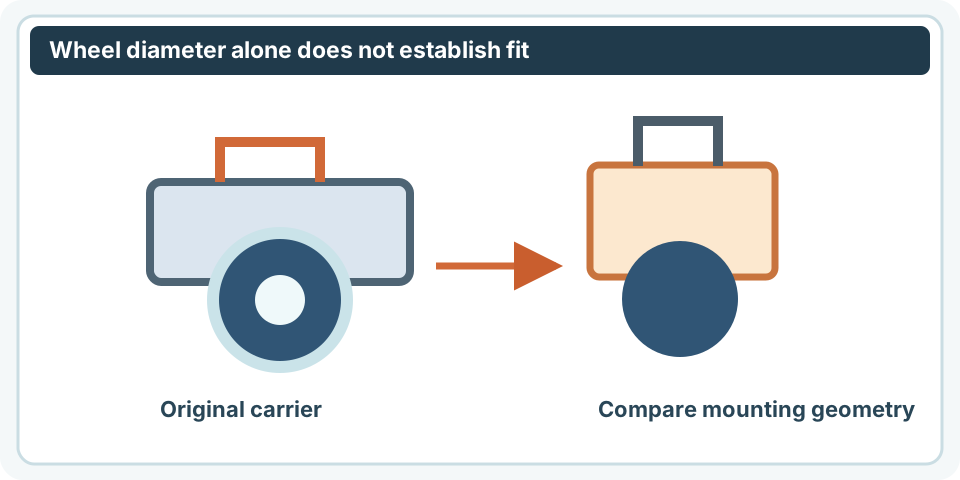
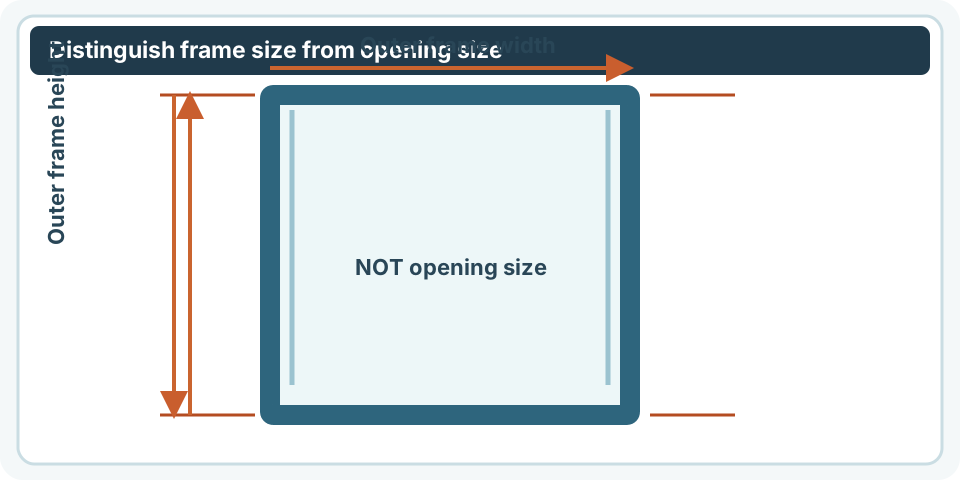
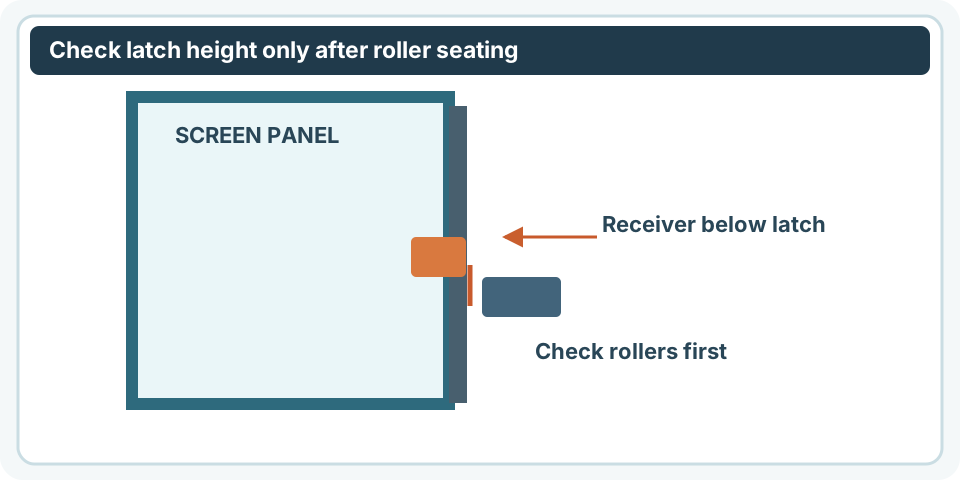
Check debris, wheel seating and the exact scraping location before buying new door-screen hardware.
Before you buy or repair
- Record first
- Scraping location, roller seating and precise screen-door model
- Make the decision
- Distinguish dirty track, height adjustment and damaged wheel before buying
- Stop & verify if
- Panel can fall from track or a wheel/frame is broken
Jump to a section
- Diagram checkpoints
- Quick diagnosis: note the symptom before taking anything apart
- Identify the screen system before adjusting
- Clean and inspect the track first
- Separate adjustment from damaged hardware
- Series-specific adjustment: the same screw direction is not a universal rule
- Worked inspection: why two similar symptoms lead to different repairs
- When removal is appropriate
- Verify the fix before buying more parts
- Mechanism-specific decision: a roller may not exist
- Sources and limits
- After the project: did it work?
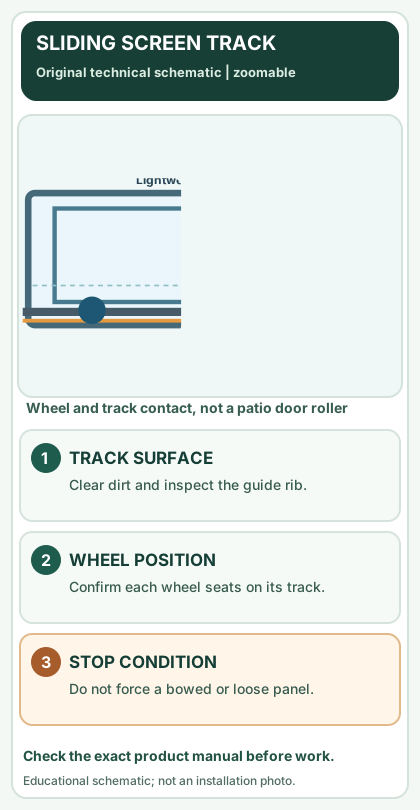
Open desktop diagram ↗ Open mobile diagram ↗
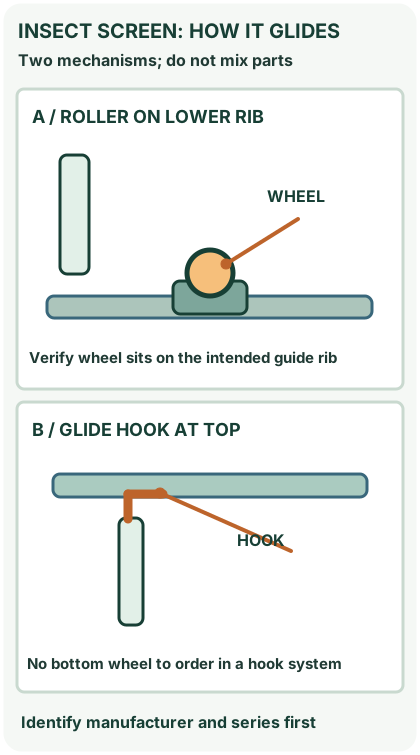
Read the diagram: three checkpoints
- Vacuum bottom guide
- Check wheel on guide rib
- Check travel at both ends
A sliding screen door that scrapes, jerks or stops partway can have several different faults. Do not buy rollers simply because the panel is hard to move. Dirt in the track, a wheel off its guide, a damaged bottom rail and incorrect adjustment can feel similar from the handle. This guide is for a lightweight insect-screen panel, not the heavy glass patio door behind it.
Quick diagnosis: note the symptom before taking anything apart
On a narrow screen, scroll this table sideways to see every column.
| Symptom | Likely first check | What would change the diagnosis |
|---|---|---|
| Gritty movement across most of the travel | Debris in the bottom guide | Same resistance on a clean track points toward wheels or alignment |
| Door drags on top only | Roller adjustment or frame position | Top rail visibly bowed or head track damaged |
| One corner scrapes | Uneven roller height or damaged wheel | Door frame diagonal is unequal or corner is loose |
| Panel jumps out of the track | Guide engagement and retention | Cracked wheel housing or incorrect screen size |
| Door moves freely but will not latch | Handle/receiver alignment | Broken latch hardware or upside-down panel |
Record the position where trouble begins. If it binds only near the closing jamb, inspect a bent track or misaligned receiver instead of applying more force.
Identify the screen system before adjusting
Check the brand and series label, if available, and photograph the top and bottom edges, wheel housing and adjustment screws. Andersen notes that its 100 Series screens use a different roller arrangement from many 200/400 Series units; some E-Series screens use glide hooks rather than conventional rollers. One adjustment instruction cannot safely cover all of them.
Use a flashlight to look at whether the wheel actually sits on its intended running rib. Do not assume the upper track is the same as the lower one. A high patio opening may require a second person to support the panel when removing it.
Clean and inspect the track first
- Keep the sliding glass door secure. Close the screen gently and inspect the full length of the guide for gravel, pet hair, bent metal and compacted dust.
- Vacuum loose dirt with a narrow attachment; use a soft brush and a cloth appropriate to the frame finish.
- Dry the track before a movement test. If the manufacturer specifies a dry lubricant, follow its guidance; avoid adding household oil to a dirty guide.
- Move the panel slowly from edge to edge with a hand near each side of the handle. Stop immediately if a wheel climbs out of the track.
Andersen's gliding-screen roller troubleshooting explicitly starts with cleaning before parts replacement.
Separate adjustment from damaged hardware
On some Andersen 200/400 designs, raising the bottom screen using the adjustment screw can relieve binding on the lower track; a different direction can lower the screen when it catches above. That is a model-specific instruction, not a universal rotation rule. Andersen 100 Series adjustment also has its own published tension direction.
Before turning anything, mark the original adjustment position with a pencil and take a photograph. Adjust in small increments only if your manual confirms the screw and direction. Test the complete travel and close/latch position after each change.
If a roller is cracked, flat-spotted, missing its spring or visibly detached from its housing, do not try to compensate by raising the opposite side. Go to the roller replacement guide and identify the matching part.
Series-specific adjustment: the same screw direction is not a universal rule
Andersen's gliding insect-screen roller article is unusually specific: for its 200, 400 and A-Series insect screens, adjustment screws were at the front of the screen in 1982–1991 units, and near the side/bottom of the screen from 1991 onward. It describes counterclockwise to lower a screen rubbing at the top, and clockwise to raise one binding against the bottom track—for that covered mechanism only.
On a narrow screen, scroll this table sideways to see every column.
| Product system you positively identify | Normal sliding hardware | Which action is appropriate to consider |
|---|---|---|
| Andersen 100 Series gliding insect screen | Two rollers at top and two at bottom | Its separate 100 Series roller procedure; do not copy a 200/400 screw-location diagram |
| Andersen 200/400/A-Series insect screen | Bottom rollers and product-vintage-specific upper spring guides/rollers | Clean the guide first, establish top-versus-bottom rubbing and only then follow the published series/vintage adjustment |
| Andersen E-Series insect screen | Top-hung silicone-embedded glide hooks; no screen rollers | Inspect documented glide/track assembly or contact service; no bottom roller to replace |
| Any other brand or unidentified frame | Unknown until profile, rail and retainer identified | Photograph the top and bottom, ask supplier for exact identification before adjusting |
Do not confuse sliding glass-door wheel service with insect-screen service. The glass slab is a heavy load-bearing assembly and may be dangerous to remove. Likewise, a screw near a patio-door sill may be a fixing or latch fastener, not a screen height adjuster.
Reproducible test before and after any permitted change
Use five observation points along the actual screen travel: fully open, first quarter, midpoint, final quarter and near the latch. With the screen securely supported, record where rubbing happens and whether it is against the top guide, bottom rib or closing jamb. After track cleaning only, check whether the sticking points change. If the same spot still jams and the panel is visibly racked, proceed to frame/roller diagnosis rather than turning unknown screws.
Accept the repair only when the complete screen travels gently without climbing its guide, the top and bottom supports remain engaged, and the latch closes without lifting the panel. An improvement at only the first travel point is not enough.
Worked inspection: why two similar symptoms lead to different repairs
Case A: the screen moves freely after vacuuming a lower rib, and both wheels turn when the panel is supported. The repair was cleaning, not a new roller. Case B: after the same cleaning, one wheel remains jammed and the corner scrapes; a broken wheel is now plausible. Neither case establishes a universal roller size. The example illustrates the decision, not a result from a MendNook field test.
Keep three notes in the project notebook: where it scrapes, whether cleaning changed the symptom, and the door's brand/series. These observations are more useful at a parts counter than simply writing “door broken.”
When removal is appropriate
If access is safe and your manufacturer permits removal, support the screen from both sides, release its retention mechanism in the published order and lift it without twisting the frame. Some designs have spring-loaded upper wheels; others have screws or removable guides. Do not pry a panel out while forcing a latch, or leave a large unsupported frame leaning in a walkway. Seek assistance if the screen is too wide to control safely.
Set it flat on padding and inspect both lower corners and the opposite top supports. Compare the frame diagonals using the frame-diagonal calculator as an indicator of racking, not a manufacturer tolerance test.
Verify the fix before buying more parts
After reinstallation, complete five slow open/close cycles. Verify wheel engagement at both ends, no scraping, no panel lift-out, and that the latch engages without pulling the frame sideways. Recheck the problem after a normal day of use. If it still binds, capture a short video and the product label before seeking manufacturer support.
Mechanism-specific decision: a roller may not exist
The Andersen gliding insect-screen service guidance distinguishes versions with bottom rollers from E-Series screens that can hang from glide hooks at the upper track. This is why a replacement roller catalog can be the wrong starting point even when the screen looks similar from the room.
On a narrow screen, scroll this table sideways to see every column.
| What you can identify without opening the panel | Likely component to investigate | Do not do |
|---|---|---|
| Wheel visibly rides the lower sill rib | Wheel, guide, height-adjustment screw and wheel housing | Turn adjustment screws before checking product series |
| Top-hung glide hook, no bottom wheel | Upper guide, hook seating, wear and manufacturer service instructions | Buy a bottom roller based only on panel width |
| Wheel is intact but panel jumps at one travel point | Damaged guide, twist, track debris or retention | Spray lubricant into every exposed track |
| Glass patio door itself is heavy or stiff | A separate glass-panel system needing different procedures | Apply insect-screen roller instructions |
Andersen-specific detail: the documented 200/400-series service information describes different adjustment-screw positions depending on manufacturing age. Even within the same brand, identify the exact series and date before using a direction-of-turn instruction. For a different maker, the control may be on the opposite side or absent entirely.
Evidence record: note the manufacturer label, a close-up of the top guide and bottom rib, whether a wheel is visible, the exact point of sticking, and the latch behavior. Compare these observations to the manufacturer's schematic, then run a gentle full-travel check only when the screen is securely retained. A lightweight insect screen is not a fall-protection device; do not leave a panel loosely seated near an elevated opening.
Sources and limits
- Andersen: Adjust or replace gliding insect-screen rollers — cleaning, adjustment and distinctions between series.
- Andersen: 100 Series installation and adjustment — the 100 Series is not interchangeable with other designs.
This is research-based guidance, not a tested repair on your product. Confirm exact model instructions and discontinue use if a loose panel could fall or create an injury risk.
After the project: did it work?
After completing only product-approved work, document what you actually observe instead of assuming a replacement part resolved the fault.
- Success looks like
- The panel travels its full intended distance repeatedly without catching, jumping the guide or requiring force at the latch.
- If it still fails
- If a wheel jams or the panel can derail, stop using it and check the roller carrier and guide profile.
- Keep for next time
- Sticking position; track condition; model/series; result of full-travel cycles
Keep your actual measurements and observed result in your private project notebook. This is a verification checklist, not a product certification.
My project record: progress and take-home checklist
Select a progress stage if helpful. This is a personal record only, not a claim that MendNook verified your repair.
Includes this guide's specific diagnosis, decision, safety, and outcome checks, plus any note entered above. Nothing is sent to MendNook; downloads and copy operations stay under your control.