Match the mechanical roller carrier and product series, not just wheel diameter; support the panel safely.
Before you buy or repair
- Record first
- Wheel housing, retaining interface, product series and part identifier
- Make the decision
- Match the whole assembly with maker documentation, not wheel diameter alone
- Stop & verify if
- Spring carrier or frame pocket is damaged or replacement is undocumented
Jump to a section
- Diagram checkpoints
- Decide whether the roller actually needs replacing
- Record the measurements and identifiers that matter
- Manufacturer comparison: three Andersen systems are not interchangeable
- Safe preparation and support
- Replacement workflow, with model gates
- A parts-desk request that can rule out a wrong purchase
- Worked comparison: why a wheel match can still fail
- Reinstall, adjust and test
- Sources and limitations
- After the project: did it work?
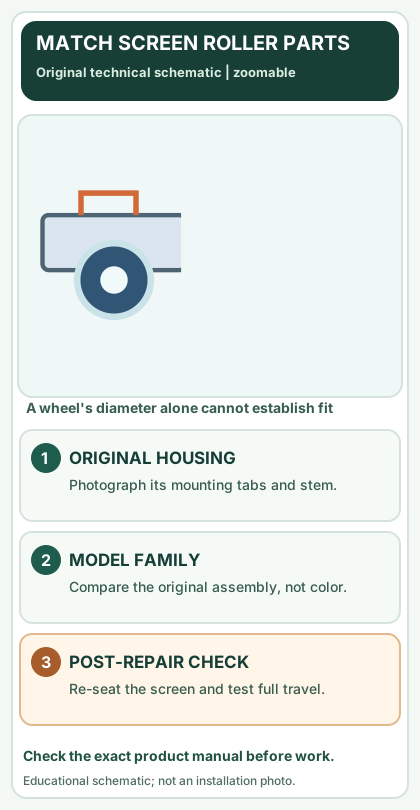
Open desktop diagram ↗ Open mobile diagram ↗
Read the diagram: three checkpoints
- Photograph housing
- Match hook, stem and profile
- Reinstall and test travel
A worn sliding screen-door roller can make an otherwise sound panel feel impossible to move. The most expensive mistake is buying a wheel by diameter alone. The stem, hook, housing, adjustment screw and spring arrangement may all differ even when the wheels look alike. This guide shows how to document compatibility and choose a safe replacement workflow.
Decide whether the roller actually needs replacing
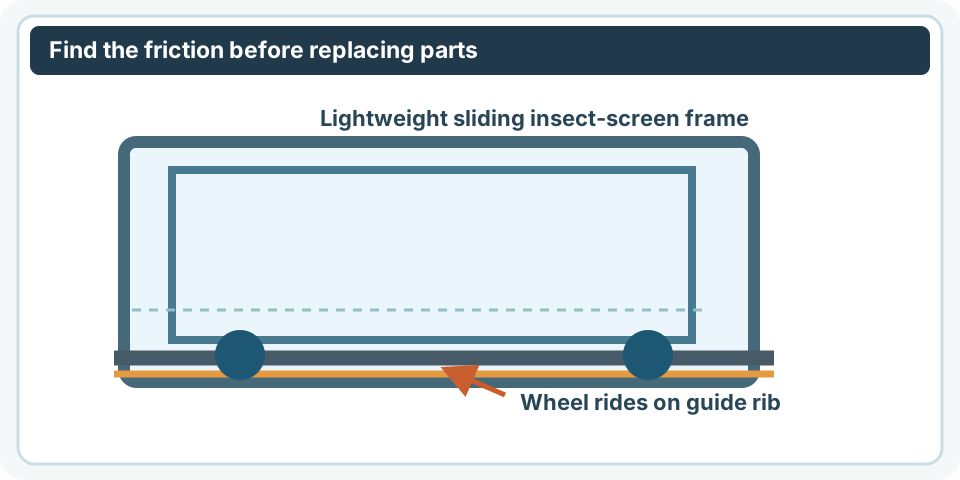
Clean the lower running guide and check for a stone, bent track or mis-seated wheel first. Move the supported screen gently. A wheel that is chipped, frozen, missing its axle or visibly broken is a stronger replacement candidate than one that simply sits too high.
On a narrow screen, scroll this table sideways to see every column.
| Observation | Better first action |
|---|---|
| Wheel rotates, no cracks, door binds only at top | Check adjustment and frame position against the manual |
| Wheel has a flat spot or fractures | Identify and replace the complete compatible assembly |
| Wheel is intact but its carrier has detached | Inspect frame pocket and retaining hardware |
| Both wheels turn but frame won't stay on guide | Check track engagement and top supports |
| Heavy glass patio door is dragging | Stop: this article is not a glass-door roller service guide |
Record the measurements and identifiers that matter
If the factory label is missing, send a manufacturer or screen specialist photos of both top and bottom hardware, the panel's original track and the latch, along with measurements. Do not make a brand/series inference from wheel diameter alone.
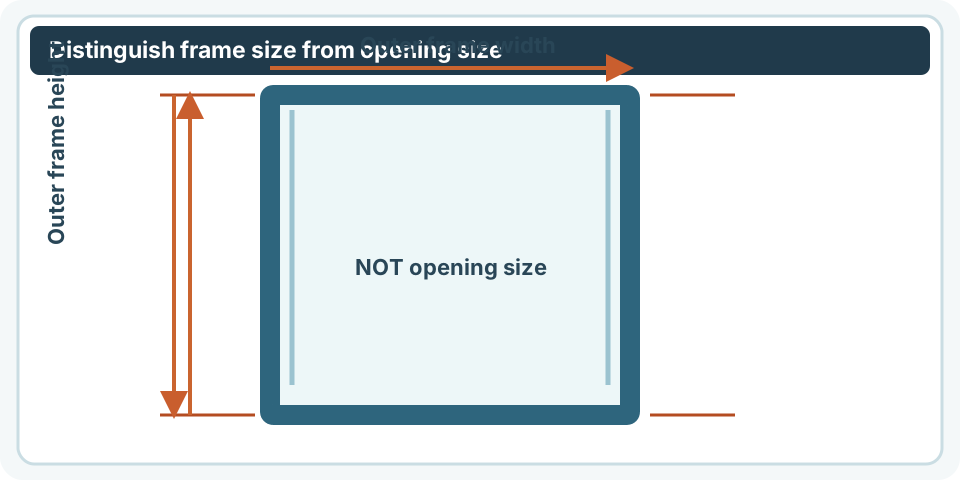
Before shopping, save photos of the removed assembly front, side and installed position. Record the brand, model/series, approximate production year, number of wheels per corner, wheel profile, housing depth, fastening system and any stamped part number. A caliper reading alone does not guarantee fit.
Keep original adjustment-screw position noted. If the original wheel is badly worn, its observed diameter may be smaller than the replacement design, so manufacturer part identification is preferred over improvising a size.
Manufacturer comparison: three Andersen systems are not interchangeable
Andersen's official screen-roller instructions document different mechanisms, even within one brand. Use the series/model label and the screen's actual original hardware; this table is an identification guide, not a generic retrofit specification.
On a narrow screen, scroll this table sideways to see every column.
| Andersen gliding insect screen | Published mechanism detail | What it means when servicing |
|---|---|---|
| 100 Series | Andersen documents two rollers on top and two on bottom. Its 100 Series guide describes a hook-engaged roller carrier, adjusted by a series-specific screw. | Follow the 100 Series hook-release/re-engagement and roller-tension procedure only for a confirmed 100 Series insect screen. |
| 200 / 400 / A-Series | Andersen's separate guide describes bottom rollers and, depending on design, top spring guides or spring-loaded rollers. Adjustment screw location also depends on vintage. | Identify production year and top guide type; do not copy the 100 Series adjustment or carrier-removal method. |
| E-Series | Andersen's 200/400/A-Series article expressly says E-Series insect screens have no rollers: they hang from silicone-embedded glide hooks at the upper track. | A search for “replacement rollers” will lead to the wrong part family. Ask for the correct E-Series glide/track service guidance. |
Check the original screen hardware, not only the patio-door year
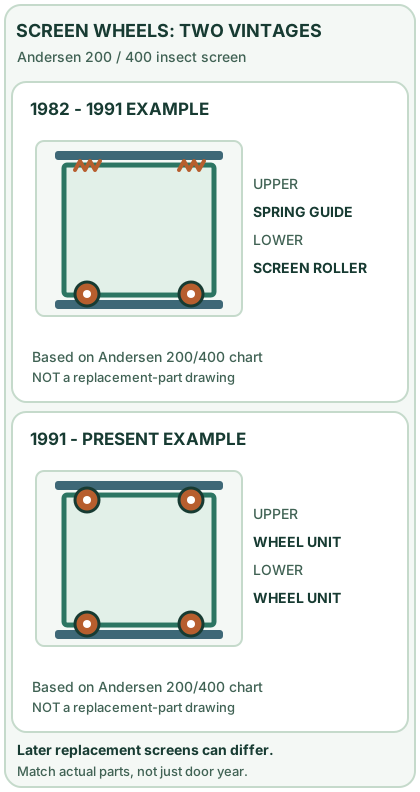
Andersen's 400/200 Series roller-and-spring parts guide offers an unusually useful vintage identification comparison. The guide is about the gliding insect screen, not the operating glass door:
On a narrow screen, scroll this table sideways to see every column.
| Andersen's illustrated screen vintage | Upper edge shown in its parts reference | Lower edge shown | What to compare before buying |
|---|---|---|---|
| 1982–1991 200/400 screen examples | Upper spring guide | Lower screen roller | Photograph the spring's shape and its engagement with the upper rib; a top wheel assembly is not an automatic substitute |
| 1991–present 200/400 screen examples | Upper wheel assembly | Lower wheel assembly | Match both removed units to the correct part illustration and the actual rail pocket |
| Replacement screen ordered later than the original patio door | May differ from door's calendar-year illustration | May differ too | Use what is installed in the screen panel, not the year of the glass door alone |
| 100 Series or E-Series screen | A different system | Refer to its own instructions | Do not order from the 200/400 vintage matrix |
Before removing any screen: record what you can see safely from the room side. After manufacturer-approved removal, photograph upper and lower components next to the same scale, record which rail each came from, and ask the parts supplier to match the original assembly, not just the wheel material. Andersen notes that a later-replacement insect screen may have different hardware than the door's original manufacturing era.
Important boundary: The heavy glass patio-door rollers are a different, much heavier load-bearing system. Andersen's glass-door roller documents do not authorize insect-screen work, and vice versa.
A source-specific 100 Series example, not universal removal advice
For a confirmed Andersen 100 Series screen whose roller needs replacement, the manufacturer's document describes gripping the exposed roller with thumb and forefinger, pressing it to release its metal hook, moving the assembly toward the centre of the screen to disengage it, and inserting the new original-compatible unit in reverse before confirming the hook snaps into place. Do not transplant this sequence to 200/400, E-Series or unlabeled frames. If the assembly cannot be supported or disengaged safely, stop rather than pry.
On this same 100 Series document, clockwise tension adjustment tightens the screen fit and counterclockwise loosens it. The 200/400/A-Series document instead frames direction by whether the screen binds at the top or bottom, and it identifies vintage-specific screw positions. The existence of a screw alone does not identify which operation or adjustment applies.
Safe preparation and support
- Wear eye protection and protect the floor. Photograph the panel while installed to preserve orientation.
- Remove the screen following its manufacturer procedure; have another person support a wide or tall panel.
- Lay the screen on padding without bending its frame or loading the mesh.
- Inspect the wheel track and corner extrusion for sharp burrs, cracks or missing fasteners.
- Photograph the exact attachment before removing any parts. Keep removed screws and clips organized.
If the panel cannot be removed without substantial force, do not bend the track or pry near patio-door glass. Ask the product manufacturer or a qualified service technician.
Replacement workflow, with model gates
For a manufacturer-documented snap-in or hook design: release the retainer exactly as described in the matching manual; replace the wheel assembly, confirm that it locks into the same pocket and that its spring or adjustment moves freely. For a screw-fastened assembly, remove and reinstall only the specified fasteners and preserve their lengths. For a crimped or proprietary carrier, a screen-shop service may be safer than modifying the frame.
Replace parts as a matched set only when instructed or when both are comparably worn; never assume a generic two-pack matches the panel.
A parts-desk request that can rule out a wrong purchase
For a hypothetical 200 Series screen with a spring at the top and wheel at the bottom, a listing for a “universal top and bottom roller pair” is not enough evidence of compatibility. Send the parts desk a short record: (1) confirmed patio-door series and any product ID; (2) photos showing the actual upper spring/roller and lower wheel; (3) rail-pocket and hook/fastener views; (4) left/right location and quantity; and (5) whether the screen was replaced separately from the glass door.
Ask the supplier to return a manufacturer part number and fit diagram. Only then decide whether one broken assembly needs service or whether the manufacturer specifies matched replacement components. If any pocket or rib is damaged, a wheel purchase alone will not restore secure engagement.
Worked comparison: why a wheel match can still fail
Imagine the old roller and a proposed replacement both measure roughly 1 inch across. The proposed wheel uses a press-in stem but the original uses a hook-retained carrier. Even with identical wheel diameters, those are different mechanical interfaces. The correct outcome is to stop and identify the manufacturer part, not to force the wheel into the rail. This is an illustrative decision example, not observed testing.
A simple purchase record should contain the exact OEM or verified compatible part number, product series, color or finish where applicable, and a photo of the removed attachment.
Reinstall, adjust and test
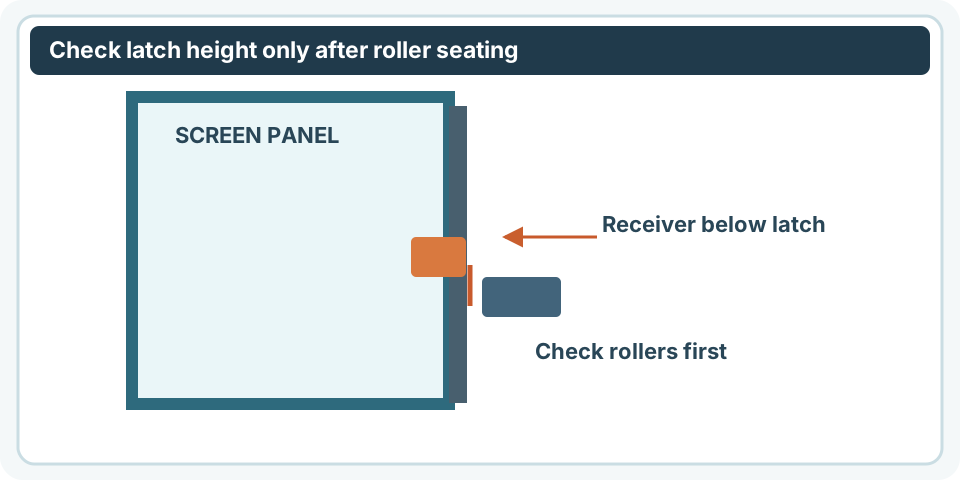
Reinstall the screen with the published top/bottom engagement order. Confirm the wheels ride on the intended guide rib. Make only model-approved adjustment changes, checking both corners. Run five slow cycles and verify no dragging, no rocking out of the track and reliable latch engagement. If adjustment changes the latch alignment, correct the roller height before moving a receiver.
For broader symptoms see why a sliding screen door sticks. For a replacement panel rather than hardware, use the measurement decision guide.
Sources and limitations
- Andersen: General gliding screen roller adjustment/replacement.
- Andersen: vintage-specific 200/400 Series roller and spring options.
- Andersen: 100 Series roller replacement.
Manufacturer instructions govern exact disassembly and adjustment. MendNook has not physically tested your roller or verified interchangeability between brands.
After the project: did it work?
After completing only product-approved work, document what you actually observe instead of assuming a replacement part resolved the fault.
- Success looks like
- The correct carrier locks in its original pocket, both wheels track smoothly and the screen latches without lifting or scraping.
- If it still fails
- If a wheel pops out or the frame pocket is damaged, stop and source verified manufacturer parts or service.
- Keep for next time
- Exact roller SKU; retainer geometry; adjustment setting; five-cycle result
Keep your actual measurements and observed result in your private project notebook. This is a verification checklist, not a product certification.
My project record: progress and take-home checklist
Select a progress stage if helpful. This is a personal record only, not a claim that MendNook verified your repair.
Includes this guide's specific diagnosis, decision, safety, and outcome checks, plus any note entered above. Nothing is sent to MendNook; downloads and copy operations stay under your control.