Check rollers and panel orientation before moving a latch receiver or buying replacement hardware.
Before you buy or repair
- Record first
- Actual receiver offset, screen orientation and roller position
- Make the decision
- Correct panel seating and use only approved receiver adjustment
- Stop & verify if
- Screen must be forced closed or can leave its guide
Jump to a section
- Diagram checkpoints
- First, identify what is misaligned
- Check panel orientation and the roller system
- Verify roller engagement before touching the strike
- A no-drill diagnostic sequence for screen latch alignment
- Safely inspect the receiver
- Worked alignment example
- Different Andersen series: same symptom, different repair
- An exact 100 Series alignment checkpoint—not a generic offset rule
- Replacing a genuinely broken latch
- Final check: smooth movement and safe engagement
- Sources and limitations
- After the project: did it work?
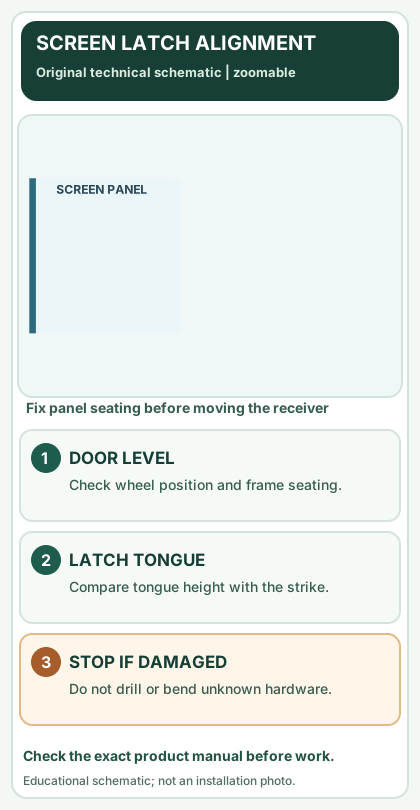
Open desktop diagram ↗ Open mobile diagram ↗
Read the diagram: three checkpoints
- Check panel orientation
- Compare tongue/receiver heights
- Test with screen level
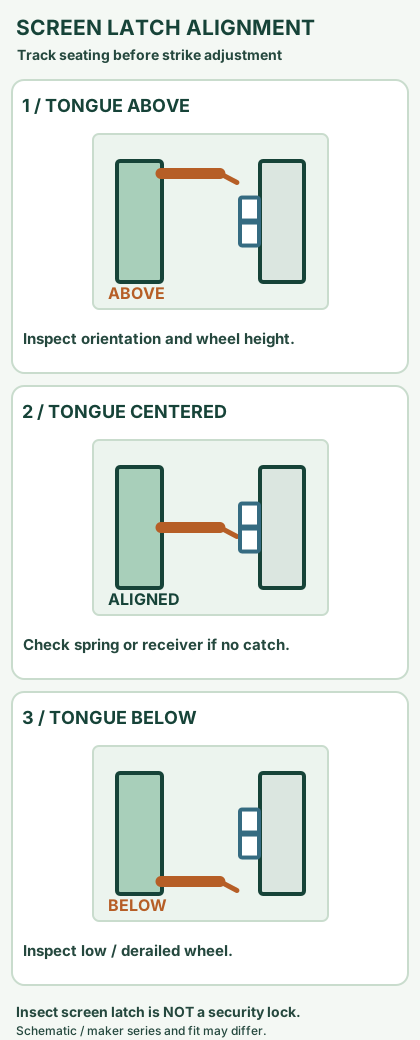
A sliding screen door that closes but does not latch may have a broken latch, or a screen panel sitting at the wrong height or even upside down. Replacing the handle first can waste money. This is a diagnostic guide for screen-panel latches, not the security lock of a heavy glass patio door.
First, identify what is misaligned
Close the insect screen gently while watching the latch from the interior. Does the latch tongue reach the receiver opening, pass above it, or hit below it? Does the handle move normally with the door held slightly open? Inspect both without placing fingers between the closing screen and jamb.
On a narrow screen, scroll this table sideways to see every column.
| Observation | First check | Do not assume |
|---|---|---|
| Latch passes above receiver | Screen roller height, panel orientation | Receiver alone needs moving |
| Latch passes below receiver | Sagging wheel, track seating | Handle is broken |
| Tongue reaches receiver but will not engage | Broken latch spring or damaged receiver | Greater force will help |
| Handle and receiver both appear skewed | Screen frame squareness | A new handle will straighten the frame |
| Screen latches only when lifted by hand | Roller/track engagement and adjustment | Problem is exclusively the latch |
Check panel orientation and the roller system
Andersen notes that some of its gliding insect screens may have been reinstalled upside down, misaligning the handle and receiver. On relevant Andersen designs, the thinner top rail and location of lower adjustment screws help identify orientation. That is brand/series dependent; do not flip an unidentified panel on that basis alone.
See the official Andersen handle-alignment guidance. Check your model label and wheel location before moving any screws.
Verify roller engagement before touching the strike
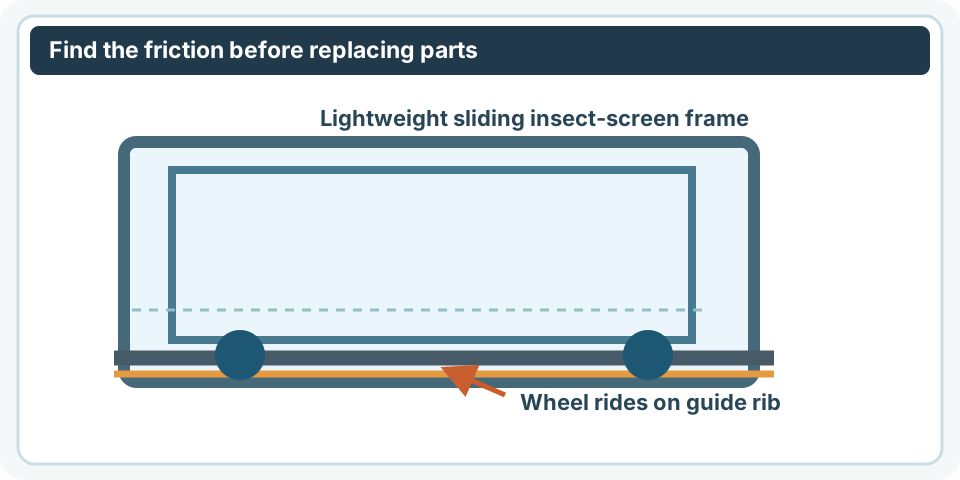
The panel may lift slightly or tilt if one wheel has come off its guide. Clean the track, inspect both wheels and ensure the top spring or guide is in its intended channel. A latch receiver moved to “meet” a tilted panel may later fail when the panel is properly seated.
If movement is rough or the screen can derail, use sliding screen diagnosis first. Only after the panel travels smoothly and sits level should you assess the latch itself.
A no-drill diagnostic sequence for screen latch alignment
With the insect screen supported and closed gently, record three separate relationships before touching any receiver screws:
- Panel orientation. On the applicable Andersen designs, the bottom adjustment screws belong nearer the sill and the upper rail is thinner than the lower rail. Andersen's misaligned screen guidance describes these identifiers. Other brands may not use the same rail profile.
- Track engagement. Check whether a bottom roller is sitting on its guide rib and whether the top support is seated where the original manual shows. Andersen's 200/400 Series installation reference specifically distinguishes top rollers or springs depending on vintage.
- Tongue-to-receiver offset. Photograph the gap from the same viewpoint with the panel resting normally—without lifting it to make the latch line up. Record above, below or centered, not merely “broken latch.”
On a narrow screen, scroll this table sideways to see every column.
| Normal supported panel result | More likely inspection path | Do not do yet |
|---|---|---|
| Panel is oriented as documented, but latch meets above receiver | Inspect roller height and both tracks | Elongate receiver screw holes |
| Panel only catches when you raise it | Investigate roller seating and wheel condition | Replace the handle on appearance alone |
| Panel is level and tongue lines up, but mechanism does not spring back | Check original latch mechanism / receiver wear | Force the lock or bend the tongue |
| Screen rides in track but the side gap widens toward top | Inspect rail squareness and guiding geometry | Hide frame twist by moving the strike |
Document the result with one stationary photo and a short note, then use the manufacturer service instructions for any confirmed adjustment. The screen panel is lightweight; this procedure does not authorize changing the heavy glass door's security lock.
Safely inspect the receiver
With the panel secure and supported, look for loose mounting screws, worn contact edges, paint buildup or a receiver that has visibly shifted from its original position. Photograph the hardware location and screw holes before changes.
On some Andersen 100 Series units, the latch receiver is adjustable vertically and fastens to dedicated factory holes. Andersen's 100 Series receiver guide describes the specific adjustment procedure. Never drill a replacement hole in a patio-door frame without confirmation from that product maker.
Worked alignment example
Imagine a screen handle whose latch tip lands 3/16 inch above the receiver. That measurement is an observed offset, not a recommendation to shift the receiver exactly 3/16 inch. The screen might be raised too high on a roller or installed backward. First compare travel and rail seating; only if the panel is correctly positioned and the original receiver is adjustable should you follow the manufacturer adjustment method.
Record three facts in your project notes: offset direction, whether the panel slides without lift, and exact brand/series. These help identify whether you need a receiver, a latch assembly or a roller repair.
Different Andersen series: same symptom, different repair
200/400 Series insect screens: Andersen's installation instructions explain that the top of the panel goes into a specific vinyl channel and that the top wheel/spring must contact its rib. The same document notes a pre-drilled side-jamb receiver hole. This is not a general invitation to drill an extra hole if a replacement latch looks low.
100 Series insect screens: Andersen publishes a separate installation and adjustment guide. The maker describes checking receiver alignment and roller tension for this series. The 100 Series receiver service article governs that series' original hardware.
Unidentified screens: Do not use one series' screw directions, latch parts or rail-orientation clues as a retrofit instruction for another. Collect a photo of the label, original receiver, top/bottom rails and hardware mounting points before seeking a compatible replacement.
An exact 100 Series alignment checkpoint—not a generic offset rule
Andersen's 100 Series insect-screen installation instructions specify a distinctive receiver reference: with the lock bar unlocked, the top of the keeper should be level with the bottom edge of the lock bar. The same source says to check screen orientation and top-roller tension so the upper rollers stay engaged in the track. That sequence matters: moving a keeper to compensate for an unseated panel may create another problem when the rollers are correctly adjusted.
On a narrow screen, scroll this table sideways to see every column.
| Your supported 100 Series observation | Evidence before a change | Conditional next step |
|---|---|---|
| Upper rollers leave the intended track during movement | Top guide/roller engagement and the current roller-tension setting | Use the 100 Series-specific roller procedure; do not move the receiver first |
| Correctly seated panel, but keeper and unlocked lock-bar edges do not align | Same-angle photograph with lock bar unlocked and screen resting normally | Consult the 100 Series receiver adjustment sheet before moving factory hardware |
| Keeper aligns, but latch still will not hold or spring back | Handle/lock-bar movement, damage and exact part identification | Investigate the original latch assembly; an offset correction alone will not cure a broken spring |
| Panel orientation or series is uncertain | Label and top/bottom hardware photos | Do not transplant the keeper-height reference to a 200/400, E-Series or unidentified screen |
For the 100 Series receiver only, Andersen documents loosening its specified screws and setting receiver position in the original service provision. That is not an instruction to enlarge mounting holes or retrofit another manufacturer's hardware. Test five full-travel cycles, gentle closure, release and track engagement after any approved repair. No insect-screen latch substitutes for the main glass-door lock.
Replacing a genuinely broken latch
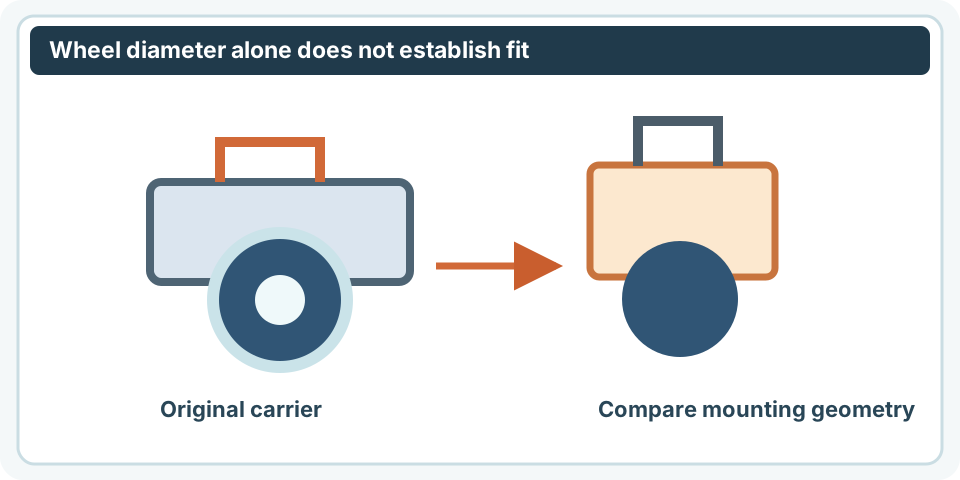
If the tongue, spring, handle mounting or receiver is physically damaged, identify the original part number and any handedness or door-series differences. Compare mounting-hole spacing and operating orientation with the official parts diagram. Andersen publishes a specific 100 Series screen handle replacement procedure; that assembly should not be assumed compatible with other panels.
Never use the insect-screen latch as a substitute for the main patio-door security lock.
Final check: smooth movement and safe engagement
After any approved adjustment, move the panel through full travel, close gently and check that the latch engages without pulling up or down on the screen. Verify easy release and that the screen does not rock out of its guide. Repeat several cycles and photograph the corrected alignment. If the screen still needs force or is unstable, stop rather than drilling new holes or bending the latch.
Sources and limitations
- Andersen: Misaligned gliding screen handle.
- Andersen: 100 Series latch receiver replacement and adjustment.
- Andersen: 100 Series screen handle replacement.
- Andersen: 200/400 Series screen installation and guide engagement.
- Andersen: 100 Series screen installation and adjustment.
These examples explain the decision process, not physical field testing. Hardware compatibility and safe removal must be confirmed against the exact product documentation.
After the project: did it work?
After completing only product-approved work, document what you actually observe instead of assuming a replacement part resolved the fault.
- Success looks like
- The insect-screen latch engages and releases gently with the panel seated correctly and traveling smoothly.
- If it still fails
- If the screen must be lifted to latch or can leave the track, check wheel height/orientation before altering the receiver.
- Keep for next time
- Latch-to-receiver offset; panel series; roller seating; repeat latch result
Keep your actual measurements and observed result in your private project notebook. This is a verification checklist, not a product certification.
My project record: progress and take-home checklist
Select a progress stage if helpful. This is a personal record only, not a claim that MendNook verified your repair.
Includes this guide's specific diagnosis, decision, safety, and outcome checks, plus any note entered above. Nothing is sent to MendNook; downloads and copy operations stay under your control.