Work out whether the sash cannot reach its frame or the latch cannot engage after closure. Stop forcing a window before diagnosing its reveal and hardware.
Before you buy or repair
- Record first
- Casement/sliding/hung sash type, model, upper/lower reveal, track and keeper alignment
- Make the decision
- Whether the sash can close gently before the lock is operated and the exact adjustment is documented
- Stop & verify if
- Damaged glazing, unsupported sash, escape-window obstruction, broken hinge or security failure
Jump to a section
- Symptom first: which stage fails?
- Read the diagram: three checkpoints
- Identify the window type and label
- A five-zone closure observation
- Worked observation: casement looks crooked
- What you can clean without dismantling
- Tests after safe, approved servicing
- Make a closure-fault record a technician can use
- Questions readers ask
- Sources and limitations
- Questions before you buy or repair
- After the project: did it work?
Quick answer: Identify what fails first. A window that cannot move to its closed position has a different problem from a sash that reaches the frame but will not engage a latch. Stop forcing handles or cranks: an out-of-square sash, dirty track, damaged weatherstrip or failed lock mechanism can make the same symptom look deceptively similar. Andersen's A-Series casement adjustment guidance explicitly links sash dragging, rubbing, failed closure and poor locking to alignment. It is a specific A-Series example, not a universal hinge-turn instruction.
Symptom first: which stage fails?
On a narrow screen, scroll this table sideways to see every column.
| Observation | First non-invasive check | Decision |
|---|---|---|
| Sash stops before touching frame | Track obstruction, hinge path, debris, screen interference | Identify window type; avoid pulling harder |
| Sash seats but lock handle will not move | Latch alignment and model-approved keeper position | Do not force lock or file keeper |
| Window closes only when lifted | Sagging sash, rollers or hinge geometry | Photograph reveal; identify hardware model |
| Double-hung window will not meet at center | Both sash positions and tilt-sash re-engagement | Check maker's tilt/reseating instructions |
| Window shuts but drafts remain | Weatherstrip contact and sash geometry | Diagnose seal type separately |
| Glass cracked, sash unsupported or frame distorted | Safety issue | Stop and obtain professional help |
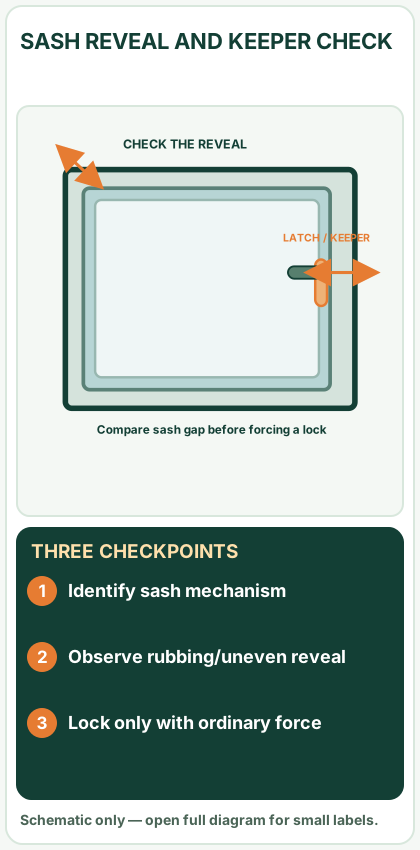
Open desktop diagram ↗ Open mobile diagram ↗
Read the diagram: three checkpoints
- Identify sash mechanism
- Observe rubbing/uneven reveal
- Lock only with ordinary force
Identify the window type and label
A side-hinged casement typically has operator arms and a perimeter closing seal; a top-hinged awning is different. Slider tracks and rollers are not hinge adjustments. Hung windows may have tilt-latch mechanisms, balance shoes and interlocking meeting rails. Record the unit brand, model/series, year or label, and an overall photograph of the window from inside. Not knowing the model is a reason to stop at observation and cleaning rather than attempting an adjustment.
Andersen's installation check asks users to compare reveal gaps and level/square of the sash or frame. That source includes an exact tolerance in its own context; do not apply that number indiscriminately to other manufacturers, materials or window vintages.
A five-zone closure observation
- With the opening at a safe reachable height, move the sash gently until resistance begins. Record whether the handle, sash, operator or track stops first.
- Inspect the top gap for misaligned reveal, fallen trim pieces or loose screens.
- Inspect the hinge or roller side for visible debris, corrosion or displaced hardware; do not disconnect support arms.
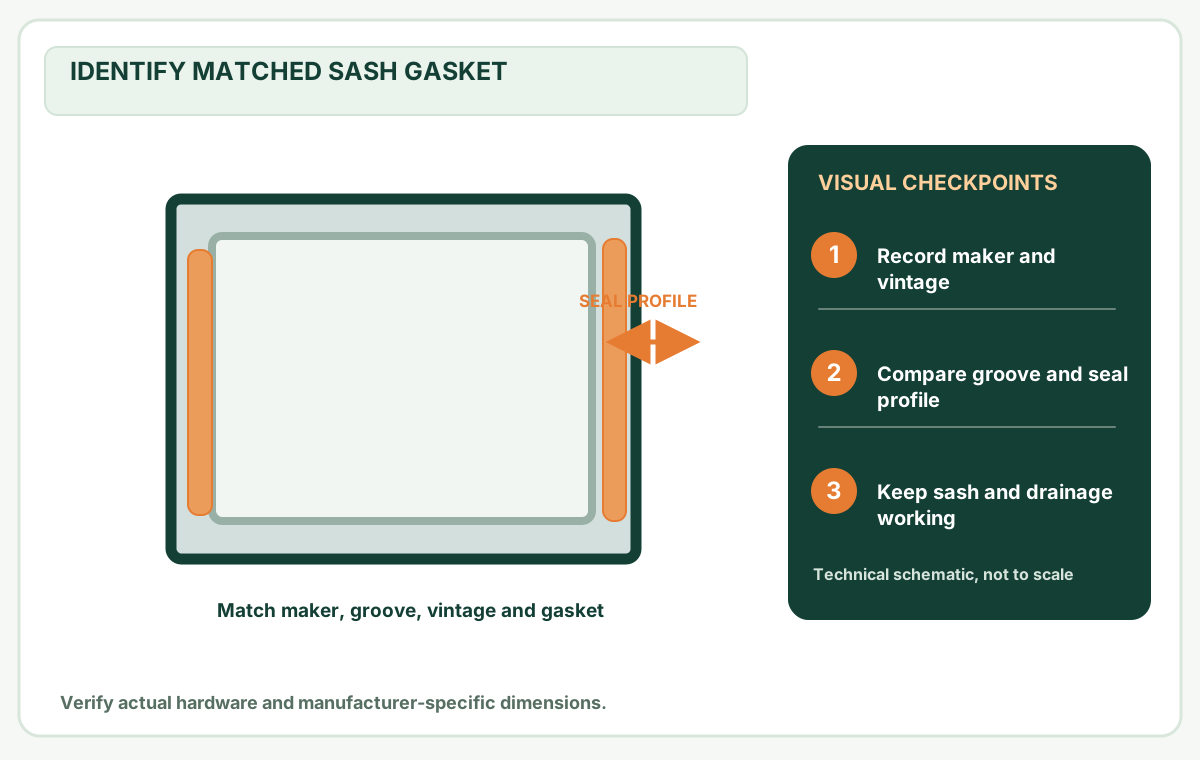
- Inspect the latch side for contact marks at the keeper, crooked lock lever or a torn gasket.
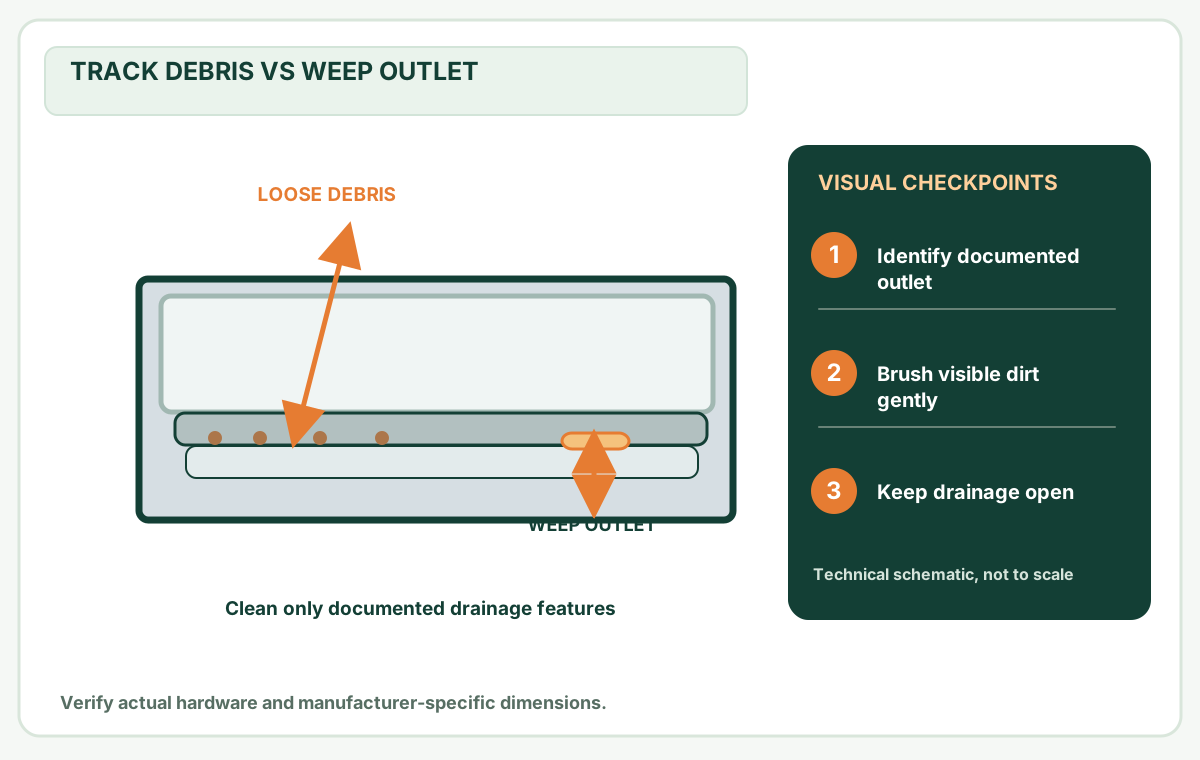
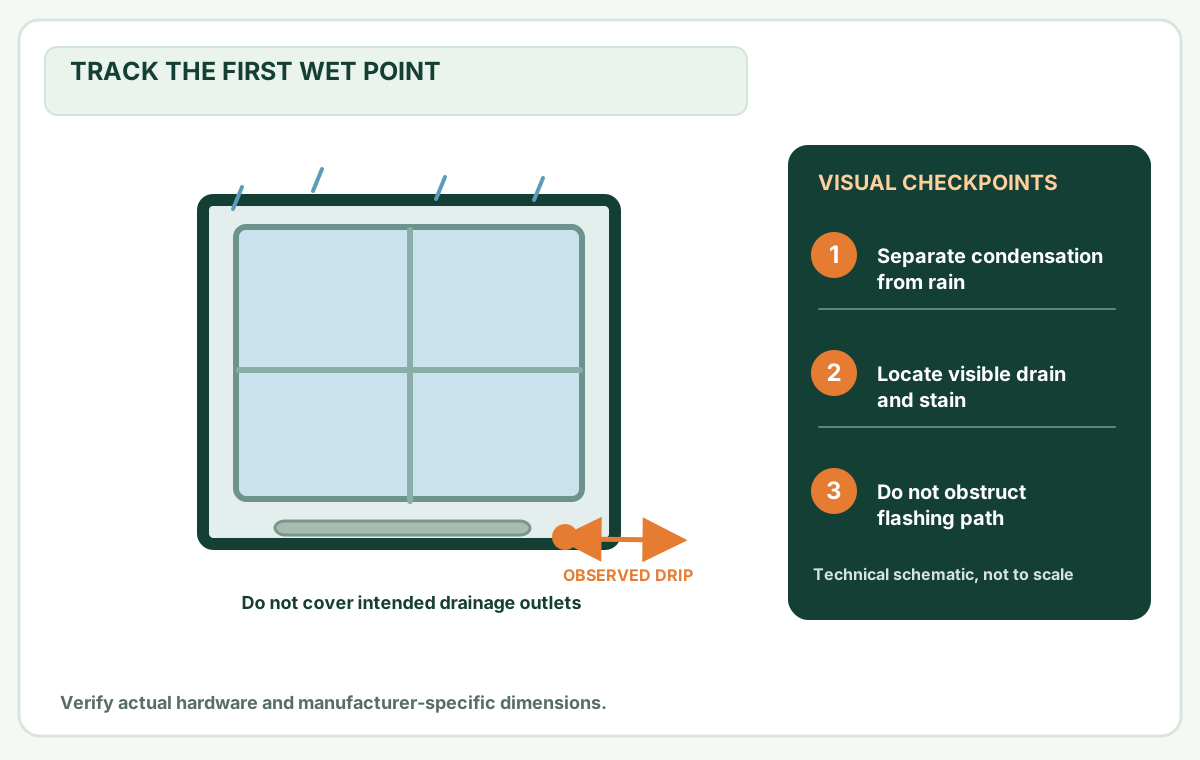
- Inspect the bottom track/sill for dirt and water. Cleaning loose debris from an accessible track is distinct from repairing a broken roller. Use window track cleaning once published, or a model-specific maintenance manual.
A short video of the window closing normally and gently up to the fault can be more useful to a service technician than guessing from a close-up of one lock.
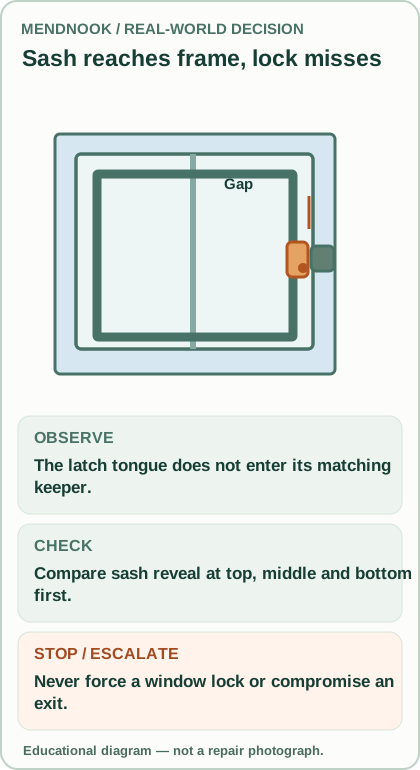
Worked observation: casement looks crooked
Hypothetical case: the bottom latch corner meets its frame first while the top corner remains separated. Mark the frame-sash reveal in a photograph at three points. A tilt or hinge geometry issue is possible, but the evidence alone does not specify which hinge fastener to turn. On Andersen A-Series models, the maker provides a dedicated wrench and hinge adjustment procedure. Follow only that manual for a positively identified A-Series unit. Do not copy a clockwise-turn instruction from a different line.
When a heavy or upper-story sash could become detached, leave it in a safe closed state and call an installer. Never pull a sash off hinges to "see what is wrong" without manufacturer instructions and adequate support.
What you can clean without dismantling
Clean reachable loose debris from a documented track with a soft brush or vacuum if allowed by its owner manual. Use approved cleaners on known finish surfaces. Inspect a gasket visually for a curled corner or displaced strip, but do not cut it or paste on a generic door seal. On Pella's covered hung-window families, correct reseating after a cleaning tilt is important: a sash incorrectly returned after washing can be hard to operate. That does not establish how to reseat another manufacturer's sash.
Tests after safe, approved servicing
Close the window with ordinary force and check that every keeper engages without an extra lift or impact. Look for even contact rather than trying to eliminate every visible joint. Open again to verify a usable emergency exit where applicable. A temporarily closed window that cannot reopen safely has not passed.
If the frame is soft, water damaged, badly out of square, or lock hardware is worn, stop DIY and request professional inspection. Security is a priority: an unlatched ground-floor window should not be left as if secured.
Make a closure-fault record a technician can use
A useful service record starts with the window make and series, then a full view showing the type of sash. Photograph the top, latch side and bottom reveal while closing gently, and capture the point at which resistance first appears. A ruler held safely near each opening gap helps distinguish sash misalignment from a single dirty track.
Take close-ups of the latch and keeper, any crushed weatherstrip and the accessible track without removing load-bearing arms or reaching outside. Make a short video of the sash approaching the frame with normal, non-forced motion. Record whether a similar window in the same room operates normally, but do not assume that it uses identical hardware.
Accept: the sash closes and latches with usual effort, reopens safely, and does not scrape or obstruct emergency egress. If not: record the contact location, leave damaged hardware alone and arrange exact-model service, especially if security is compromised.
Questions readers ask
Can I just move the strike/keeper? Not until alignment is diagnosed and the product's adjustment method is known; it may conceal sag.
Is it safe to lubricate every track? No. Use only the maker's approved dry lubricant or cleaning procedure, if one is specified.
Why does the window lock only if I lift it? Sash geometry may be out of alignment; don't force a lock to compensate.
What if it's a bedroom emergency exit? A jammed exit is a safety concern. Seek prompt qualified repair.
Sources and limitations
- Andersen — Adjust A-Series Casement Sash.
- Andersen — Checking Window or Patio Door Unit Installation.
- Pella — Owner's Manual, hung window troubleshooting.
Evidence limits: This is a diagnostic guide, not a claim of a completed lock repair or a security certification.
Questions before you buy or repair
Why does my window lock only when lifted?
An uneven sash reveal or alignment fault may be involved; record the symptoms and use manufacturer-specific diagnosis.
Can I lubricate every window track?
No. Use only cleaners or lubricants approved for the exact window series and finish.
Should I force a stuck window shut?
No. Forcing can damage hinges, hardware or an emergency exit; seek qualified help when safe closure fails.
These answers summarize the guide's documented evidence. Check the cited sources and exact model instructions above before ordering parts.
After the project: did it work?
After completing only product-approved work, document what you actually observe instead of assuming a replacement part resolved the fault.
- Success looks like
- Sash closes and locks with normal gentle force and reopens safely with no scraping or new damage.
- If it still fails
- Record which contact blocks closure and seek model-specific service for locks, hinge faults or distorted sashes.
- Keep for next time
- Unit series, opening type, top/mid/bottom reveal, latch symptoms, checks performed and final closing result
Keep your actual measurements and observed result in your private project notebook. This is a verification checklist, not a product certification.
My project record: progress and take-home checklist
Select a progress stage if helpful. This is a personal record only, not a claim that MendNook verified your repair.
Includes this guide's specific diagnosis, decision, safety, and outcome checks, plus any note entered above. Nothing is sent to MendNook; downloads and copy operations stay under your control.