A window's sash gasket is product- and vintage-specific; some fuzzy factory-integrated seals cannot be replaced as a separate DIY strip.
Before you buy or repair
- Record first
- Window make, vintage, precise sash location, original gasket cross-section and groove
- Make the decision
- Whether the maker offers a replaceable exact part rather than an integrated sash seal
- Stop & verify if
- Irreplaceable integral strip, heavy unsupported sash, obstructed drains or impaired locking
Jump to a section
- Find the actual air path
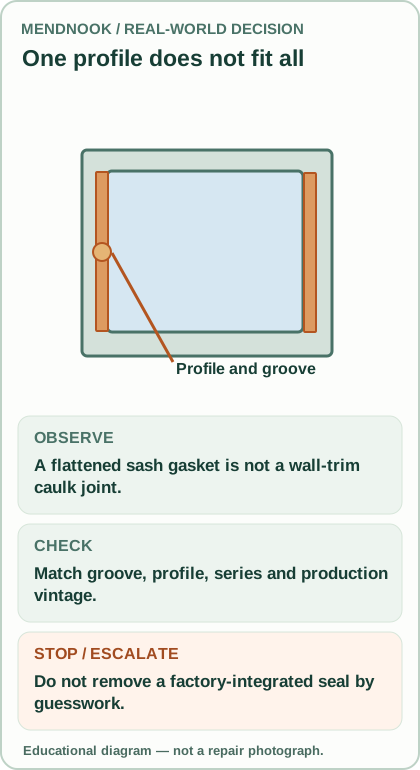
- Read the diagram: three checkpoints
- Match window family and production year
- Make a profile identification record
- Product-scoped example: Andersen 100 Series casement/awning
- Worked replacement decision
- Install, check operation and protect drainage
- Document the profile and sash operation
- Questions readers ask
- Sources and limits
- Questions before you buy or repair
- After the project: did it work?
Quick answer: Determine whether you have air movement at the moving sash-to-frame contact, at stationary interior trim, or through a water-management opening. Weatherstripping usually serves moving parts; caulk generally serves stationary joints. The U.S. Department of Energy explains this distinction. Match manufacturer, series, vintage, gasket profile and retention channel before buying any strip.
Find the actual air path
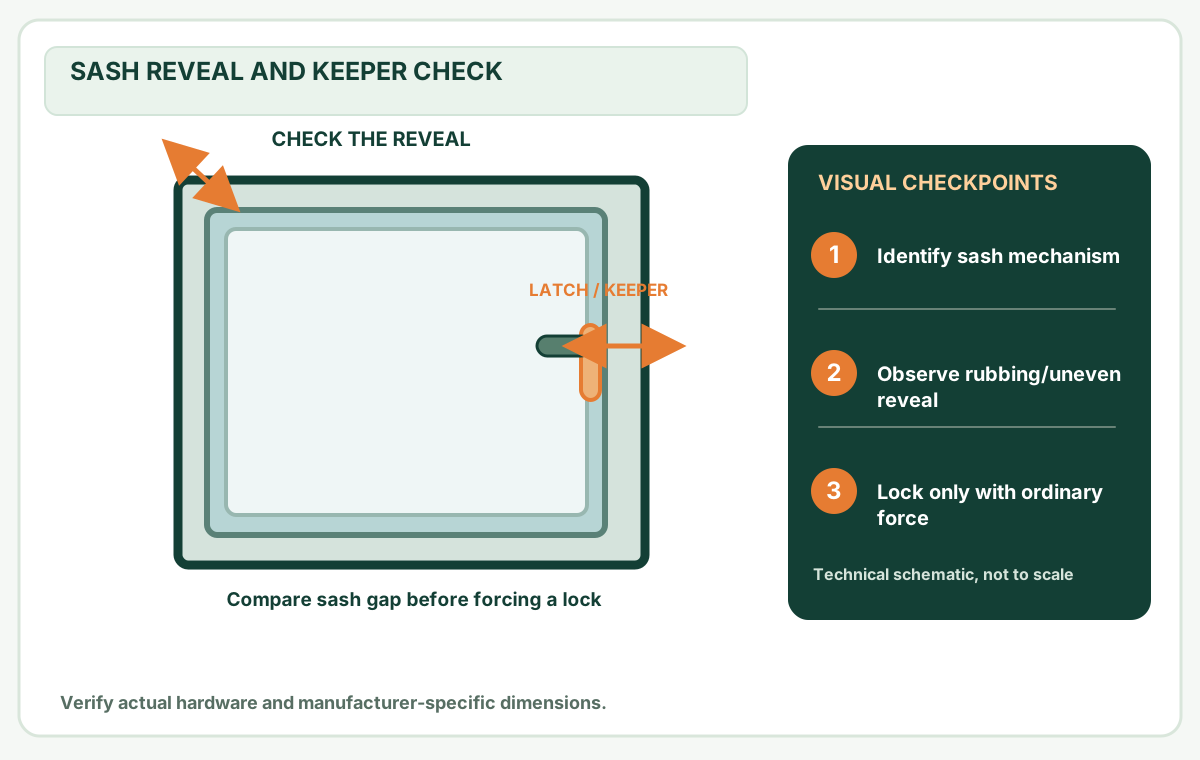
A cold window is not automatically leaking. Glass temperature, single glazing, convective currents and air movement through a sash joint can feel similar. Without blocking ventilation, inspect the position of gaskets and compression when closed. Record where you feel a draft at the handle edge, head, sill, hinge side or meeting rail, under comparable weather.
On a narrow screen, scroll this table sideways to see every column.
| Symptom | First check | Do not do |
|---|---|---|
| Draft along operable sash | Maker's leaf, pile, bulb or compression gasket | Stuff foam into unknown groove |
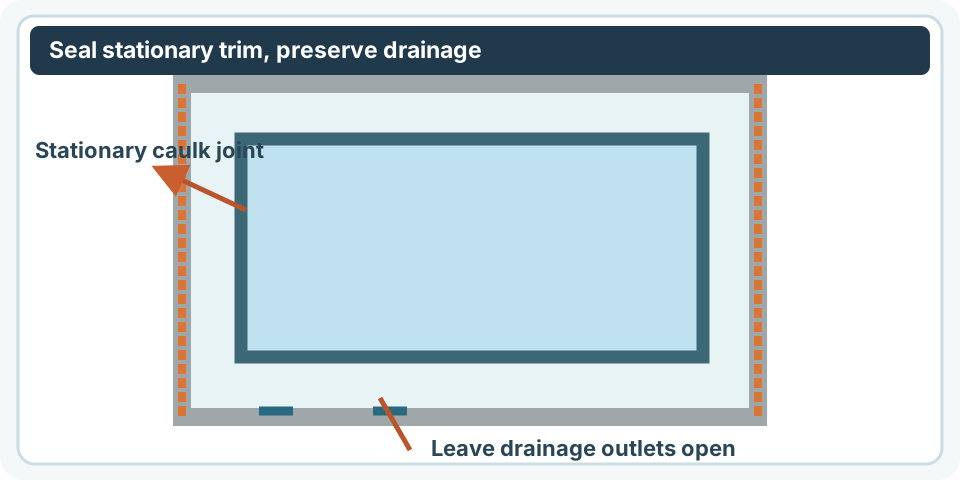
| Air at trim/wall corner | Stationary rough opening/trim air sealing | Put sash weatherstrip on drywall joint |
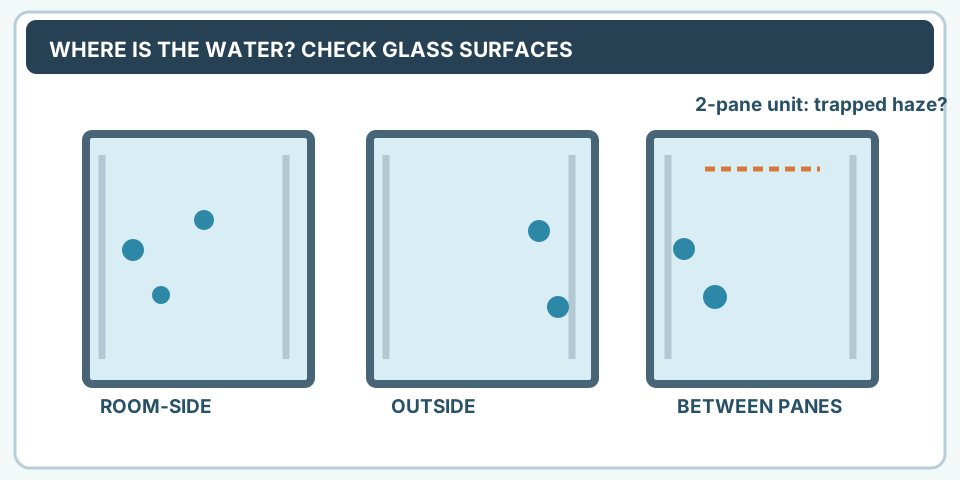
| Condensation between glass panes | IGU seal condition | Buy adhesive foam |
| Water in designed sill channel | Weep/drain system | Caulk over drainage slot |
| Sash will not close with new seal | Wrong profile, excessive compression, misalignment | Force handle or overcompress gasket |
See window condensation, trim caulking and window closure diagnosis to prevent treating a different fault as a gasket problem.
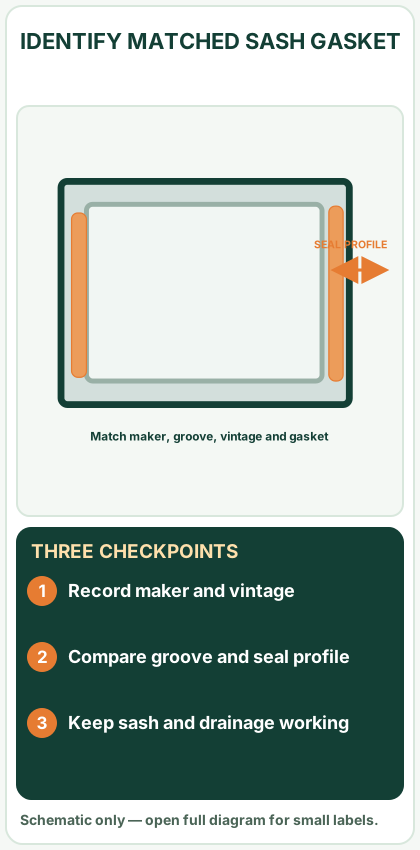
Open desktop diagram ↗ Open mobile diagram ↗
Read the diagram: three checkpoints
- Record maker and vintage
- Compare groove and seal profile
- Keep sash and drainage working
Match window family and production year
Andersen's casement and awning weatherstrip overview separates sash, frame, bulb, leaf and waterbar components across A-Series, 400 Series and 100 Series families. One named Andersen A-Series sash procedure notes 2008–2011 A-Series sashes used a leaf seal on four sides while 2011–present variants position leaf and bulb weatherstrip differently. That is decisive: an article claiming "fit the same strip around all four edges" would be wrong for some products.
An even stronger exception: the Andersen 100 Series single-hung weatherstrip article says its fuzzy gray sash weatherstrip is built into the operating sash and is not replaceable separately; replacement sash is recommended. Do not strip it from the frame on the assumption that all fuzzy material is replaceable pile.
Make a profile identification record
Record the exact location (head/sill/side/meeting rail), window model and approximate year, groove or retainer type, visible profile cross section, color, whether it is peel-and-stick or push-in, and any manufacturer part number. Do not measure compressed rubber alone and choose the nearest advertised thickness. Compression resistance and groove/fin size determine fit as much as nominal bulb width.
For an existing damaged strip, photograph its cross-section against a ruler without destructive removal. Where its manual authorizes removing a test section, keep a sample and the original orientation; never remove an irreplaceable gasket just to identify it. Ask manufacturer parts support with photos when no SKU can be found.
Product-scoped example: Andersen 100 Series casement/awning
Andersen documents three weatherstrip styles for its 100 Series casement or awning window, including a one-piece primary gasket, leaf strips on specific sash sides and an upper bulb style. Its replacement guidance says to remove existing material as directed, clean groove with mild soap/soft cloth, insert the matching replacement into the channel, avoid pulling the one-piece primary strip too tight around corners, and place its junction at the documented location. These are unit-specific instructions, not a universal method for a sash with glued, factory-integrated or nonserviceable seals.
Another A-Series procedure requires sash removal for its covered models. A sash can be heavy or unstable; do not attempt solo removal or unsupported glazing work at height. If the manufacturer procedure requires that and you cannot safely perform it, arrange professional service.
Worked replacement decision
Hypothetical observation: a single-hung window has gray fuzzy material along its moving sash and a draft at the meeting rail. A generic adhesive pile roll may look similar. You identify the unit as Andersen 100 Series single-hung from a model label. Its maker says the built-in weatherstrip cannot be replaced separately. Correct decision: do not purchase peel-and-stick pile or pull out the integrated strip; consult the maker about a replacement sash or proper service diagnosis.
Different hypothetical case: the unit is positively identified as an Andersen 100 Series casement and the manufacturer's document lists an available matching replacement strip for the observed location. Check SKU, cleaning and insertion steps from that model's instructions before deciding DIY is suitable.
Install, check operation and protect drainage
For a system with approved removable and replaceable weatherstrip:
- Photograph the intact original seal, part orientation and full closed-window contact before intervention.
- Order the exact matching part and review its removal and sash-support requirements.
- If allowed, remove the old material without gouging the groove or disturbing adjacent water-management parts.
- Clean the mating channel and let it dry as directed. Avoid harsh solvents and scraping tools.
- Seat the replacement according to the named manual, including any joint/edge location, overlap or no-stretch rule.
- Inspect each corner for roll-over, pinching and unseated retention legs.
- Close the sash gently. The window must lock with ordinary force and open safely. Inspect whether any manufacturer's drain outlet remains open.
- Recheck actual drafts during comparable conditions, recording only observations — not a fabricated energy-saving percentage.
A visual absence of daylight does not prove a standardized air-infiltration performance rating.
Document the profile and sash operation
A gasket photograph is useful only if the reader can tell which sash and which edge it came from. Start with the full window and exact series label. Photograph the original installed weatherstrip, its cross-sectional profile against a ruler when safely accessible, and the groove or adhesive seating surface the maker specifies. Keep the orientation in every caption.
If an exact approved replacement exists and the procedure is safe for the unit, document the original part number, replacement package and the seated seal at corners and joints. Photograph the sash closing and locking normally afterward. Do not pull an integrated fuzzy seal out merely to produce a dramatic before/after image.
Accept: matched gasket is retained, contact is appropriate, sash still locks normally and intentional drainage remains open. If not: investigate wrong vintage/profile, overcompression or an irreplaceable factory-integrated strip before proceeding.
Questions readers ask
Can I use universal self-adhesive foam on any window? No. It may impair closure, drainage or an integrated gasket.
What if the seal is fuzzy? Pile material may be serviceable or factory-integrated; identify the unit first.
Should I caulk the moving sash gap? No. Caulk serves approved stationary joints.
Can I reuse a gasket stretched around the frame? Only if its maker explicitly permits; damaged/stretched seals may not fit.
Sources and limits
- DOE — Air Sealing Basics.
- Andersen — Casement/Awning Weatherstrip by Series.
- Andersen — A-Series Weatherstrip Vintage Differences.
- Andersen — 100 Series Casement/Awning Replacement.
- Andersen — 100 Series Single-Hung Integrated Seal.
Evidence limits: This is manufacturer-scoped research, not proof of a gasket replacement performed or inspected by MendNook.
Questions before you buy or repair
Can I fit universal foam to every sash?
No. Seal profile and compression are model-specific; an unsuitable gasket can obstruct closure or drainage.
Is every fuzzy pile seal replaceable?
No. Some factory-integrated sash seals cannot be replaced separately, including an Andersen 100 Series single-hung example.
Can I caulk between a moving sash and frame?
No. Apply appropriate sash weatherstrip only where the manufacturer permits; caulk belongs to approved stationary joints.
These answers summarize the guide's documented evidence. Check the cited sources and exact model instructions above before ordering parts.
After the project: did it work?
After completing only product-approved work, document what you actually observe instead of assuming a replacement part resolved the fault.
- Success looks like
- Matched replacement stays seated, sash closes and locks normally, drainage is open and air-contact observations recorded.
- If it still fails
- Stop if the seal is integral, pulls free, overcompresses the latch or blocks drainage; verify maker and vintage.
- Keep for next time
- Window model/vintage, part SKU, cross-section location, actual method and before/after operation
Keep your actual measurements and observed result in your private project notebook. This is a verification checklist, not a product certification.
My project record: progress and take-home checklist
Select a progress stage if helpful. This is a personal record only, not a claim that MendNook verified your repair.
Includes this guide's specific diagnosis, decision, safety, and outcome checks, plus any note entered above. Nothing is sent to MendNook; downloads and copy operations stay under your control.